Showing posts with label Halloween. Show all posts

Monday, 21 September 2015

A Happy Scenes Halloween Window Card from Stampin' Up! UK Demonstrator Sarah Poulton

Good morning and a very Happy Monday to you. How was your weekend? I hosted my monthly card class on Saturday which was lovely as always. I always enjoy catching up with my regular ladies and welcoming new crafters to the class. We celebrated Christmas Craft season with spiced biscuits and mince pies over a cuppa during our crafty break.

But before we go full Christmas every month I wanted to give the Autumn Winter catalogue Halloween products a bit of an outing. You'd be forgiven for thinking the catalogue only contained Christmas items as these are my favourites but there are also lovely other seasonal stamps and accessories too.

I created this Halloween/Autumn card using the Happy Scenes bundle.


I created the window scene using the Framelits and matching tree scene stamp set. I stamped my image in Soft Suede and coloured with my markers. I added a bit of colour to the sky and grass with Wild Wasabi and Soft Sky- coloured with a Blender Pen.


I cut the cat using the Framelit from Festive Fireplace bundle. I cut him from Basic Black cardstock to reflect the Halloween theme.

Thank you for popping by today. Please let me know if you have any questions about Stampin' Up! or our products. I would love to help. All items can be purchased online via my shop or get in touch directly and I can order them for you to be delivered direct to your door. I'd also love to Demo for you and your friends at a crafty party. As the hostess you earn lots of lovely freebies and you all get to make a fun crafty project too (no crafting experience necessary!)

 -XXX-

Built for Free Using: My Stampin Blog

Friday, 31 October 2014

Halloween Chocolate filled Witch's Hat Treat Triangle Box from Stampin' Up! UK Demonstrator Sarah Poulton


Good morning and a very Happy Halloween to you. 

Here is the last of my Halloween projects for this year. I saw a similar project over on Julie Davison's blog. I loved the simplicity of creating a triangle box and then embellishing to create the witch's hat.

I used a Basic Black card base to create the hat and add on rim (following the pdf instructions on Julie's blog). I then used a scrap of Flower Pot Designer Series Paper left on my desk from  my Curvy Keepsake Pumpkins to create the band. The buckle was created with a scrap of Under the Tree Speciality DSP punched with my Curly Label Punch (any contrasting Halloweeny coloured card or paper would work for the band and buckle).

I did add a little extra embellishment with the little Itty Bitty Accent flower. I wanted my witch to be a friendly one so thought she'd wear flowers in her hat for some reason. I guess when you are making for a 2 year old who suffers with nightmares you don't want to create anything with too scary connotations ;0)

The hat is filled with these little chocolate pumpkins. That'll be Summer's special Friday night treat later.


Don't forget to check out this weeks Weekly Deals. Some great deals to be had.


Thanks for stopping by today. If you have any questions about today's project or the products I have used, please get in touch on poulton_sarah@yahoo.co.uk or 01983 609249. You can order online direct through my store by clicking the product links above or the pictures below. I also have availability in the next few months for your very own crafty party. 

Happy Crafting
-X-

Wednesday, 29 October 2014

Halloween Witch Boot Treat Holder from Stampin' Up! UK Demonstrator Sarah Poulton


Good morning crafters.

As promised I am back with my second of this weeks Halloween inspired creations. I was looking for simple little treat holders to give to my 2 year old on Friday. Both she and my 7 month old have super cute monster costumes (matching of course) and I wanted something not too scary for her Trick or Treating basket.

I found a similar Witch Boot designed by Karen Fontinelle and thought this would make a perfect holder for the chocolate brains I'd found in the supermarket. I used a cut down kitchen roll inner tube to create this. I cut 1/2" strips of Rich Razzleberry and Tangerine Tango cardstock and glued to the roll.

I wrapped a 1" strip of Basic Black cardstock around the base and folded back the corners to create the boot opening. The buckle was punched using my Petite Curly Label Punch from Dazzling Diamonds Glimmer Paper (I cut a small rectangle of Basic Black to create the buckle effect).


I used a bone folder to soften the fibres and roll the shaped boot base to give the pointy effect.

Thanks for stopping by today. Please come back on Friday for my final Halloween project (a hat to match our Witch's boot). If you have any questions about today's project or the products I have used, please get in touch on poulton_sarah@yahoo.co.uk or 01983 609249. You can order online direct through my store by clicking the product links above or the pictures below. I also have availability in the next few months for your very own crafty party. 

Happy Crafting
-X

Monday, 27 October 2014

Holiday Home Halloween Greetings from Stampin' Up! UK Demonstrator Sarah Poulton


Good morning and welcome to a Stampin' Sarah! week of Halloween creativity and inspiration to celebrate the festivities. My girls are a bit young still for Trick or Treating, but we will be indulging in a little dressing up and popping around to visit family for a few little treats on Friday.

I spent a very lazy Sunday morning yesterday with a cuppa and a browse of Pinterest. It was while perusing my feed that I came across this card by Melissa Davies. I just fell in love with it so gave it my own Stampin' Sarah spin. And so was born my week of Halloween projects as I loved creating this so much. I will  be back on Wednesday and Friday to share some great Halloween treat ideas and fun gifts.

For this card I used a Pumpkin Pie card base (would you believe this colour is the reason I fell in love with Stampin' Up!? My very first order included a Pumpkin Pie ink pad and pack of card!). I then embossed a second Pumpkin Pie layer with the Filigree Frame Embossing Folder and mounted on to a layer of Rich Razzleberry.


To create the main focal image I started by sponging a 7.5cm square of Whisper White cardstock with Tangerine Tango and Rich Razzleberry ink. I then stamped the spider, bats and trees in Basic Black. I stamped the tall house from the Holiday Home stamp set on to Old Olive card and cut the image out. I stamped the ghost and pumpkin on to a Whisper White scrap and hand cut the little images.

Once all elements were stamped and cut I simply glued and mounted with dimensionals. The final touch was a quick hand cut banner and the Happy Halloween greeting stamped in Tangerine Tango.

Thanks for stopping by today. Please come back later in the week for more Halloween ideas. If you have any questions about today's project or the products I have used, please get in touch on poulton_sarah@yahoo.co.uk or 01983 609249. You can order online direct through my store by clicking the product links above or the pictures below. I also have availability in the next few months for your very own crafty party. Click on the Promotions tab above to see the exclusive hostess promotion running until October 31st.

Happy Crafting
-X

Friday, 17 October 2014

Curvy Keepsake Die Halloween Pumpkins using Stampin' Up! Products


I have a super quick and easy seasonal share for you today. I made these little Curvy Keepsake Box Pumpkins for my team get together last week. I thought they were perfectly Autumnal and Halloweeny (and they came with a lovely little chocolatey pumpkin treat too!).

I have seen so many different creations with the Curvy Keepsake Die (just type Stampin' Up! Curvy Keepsake in to Pinterest for so many different ideas from animals to patterns to zombies!) and I wanted to have a go at one myself. I found this tutorial that showed me how to cut the box most economically. I used a card base of Tangerine Tango with the sides cut from a Tangerine Tango patterned paper from the Flower Pot Designer Series Paper pack. I added the label cut from Old Olive (this is part of the Curvy Keepsake Die set of framelit dies) and stamped the 'For You' from a sentiment in the For All Things stamp set.

I tied the label with Linen Thread and finished with three Candy Dots (I lost one along the way somewhere!).


I hope you have lots of lovely crafty plans for the weekend. I have my monthly card class tomorrow. I had a bit of a cake baking disaster trying to prep for tomorrow. It looked so lovely when I found the recipe online. Sadly I changed one element of the Cherry and White Chocolate Loaf and it appears to have been quite vital as the final result was lovely tasting but certainly not something I could present to my lovely crafty ladies tomorrow looks wise (and I have somehow managed to cover my computer in cake mixture too!). Thankfully my Mum has come to the rescue with some homemade mince pies instead *hooray*

If you have any questions about today's project or the products I have used, please get in touch on poulton_sarah@yahoo.co.uk or 01983 609249. You can order online direct through my store by clicking the product links above or the pictures below. I also have availability in the next few months for your very own crafty party. Click on the Promotions tab above to see the exclusive hostess promotion running until October 31st.

Happy Crafting
-X-

Thursday, 9 October 2014

Simply Created Halloween Frightful Wreath Kit from Stampin' Up!


Good afternoon crafters.

It is a wet and windy Thursday here on the Isle of Wight so I took the opportunity (with a little help from my stamping buddy Summer) to make my Frightful Wreath kit into the completed project. The picture above shows it completed and added to my little Halloween corner in our lounge. I was determined to get this wreath made ready in time for Halloween. Plus, once you've put so much effort in to creating something you want to enjoy it for the for as long as possible. So now I can have my wreath and lovely scented candles for the whole of the rest of the month.

Here is a close up on the centre of the wreath:


When it came to stamping the banner I didn't have the matching Frightful Wreath Photopolymer Stamp Set, so instead I created my own greeting using the Skinny Mini Photopolymer Alphabet and the Halloween accessories from the Holiday Home Stamp  Set (bats and pumpkin).

And here is my favourite part to make, the beaded spider. This was surprisingly simple to create with clear instructions on how to wrap the wire to create these effective purple and silver legs.


You still have plenty of time to order your Frightful Wreath in time for Halloween. With a glue gun ready to go this wreath took about an hour to make from beginning to end. It was a fab, quick and easy make. You can order your wreath direct through my online store by clicking here or by clicking the product picture below.

And don't forget to pop by my Online Store to check out this weeks Weekly Deals. Click the picture below to connect through to this weeks exclusives.


If you have any questions about today's project or the products I have used, please get in touch on poulton_sarah@yahoo.co.uk or 01983 609249. You can order online direct through my store by clicking the product links above or the pictures below. I also have availability in the next few months for your very own crafty party. Click on the Promotions tab above to see the exclusive hostess promotion running until October 31st.

Happy Crafting
-X-

Saturday, 3 November 2012

Halloween Scrapping

First things first, Stampin' Up! have announced two exciting new promotions for November. A really exciting ink pad promotion when you place an order for £325 (individual, party or group orders qualify) you will receive a colour family of ink pads for free (10 colours from with the Subtles, Regals or Brights). There is also another great promotion on the Ornament Keepsakes bundle. Buy the stamp set bundle and receive the matching Paper-Piecing Pack for free!! Wow, what a month to place an order or host a party with me. So many fab freebies!! To find out more please click on my promotions tab above.
 
Now, before you pack away all those Halloween crafty supplies for another year I wanted to share a few more projects you can use them for. I'm sure we all have a stack of pictures from Halloween so why not use your stamps and papers for a bit of seasonal scrapbooking.
 
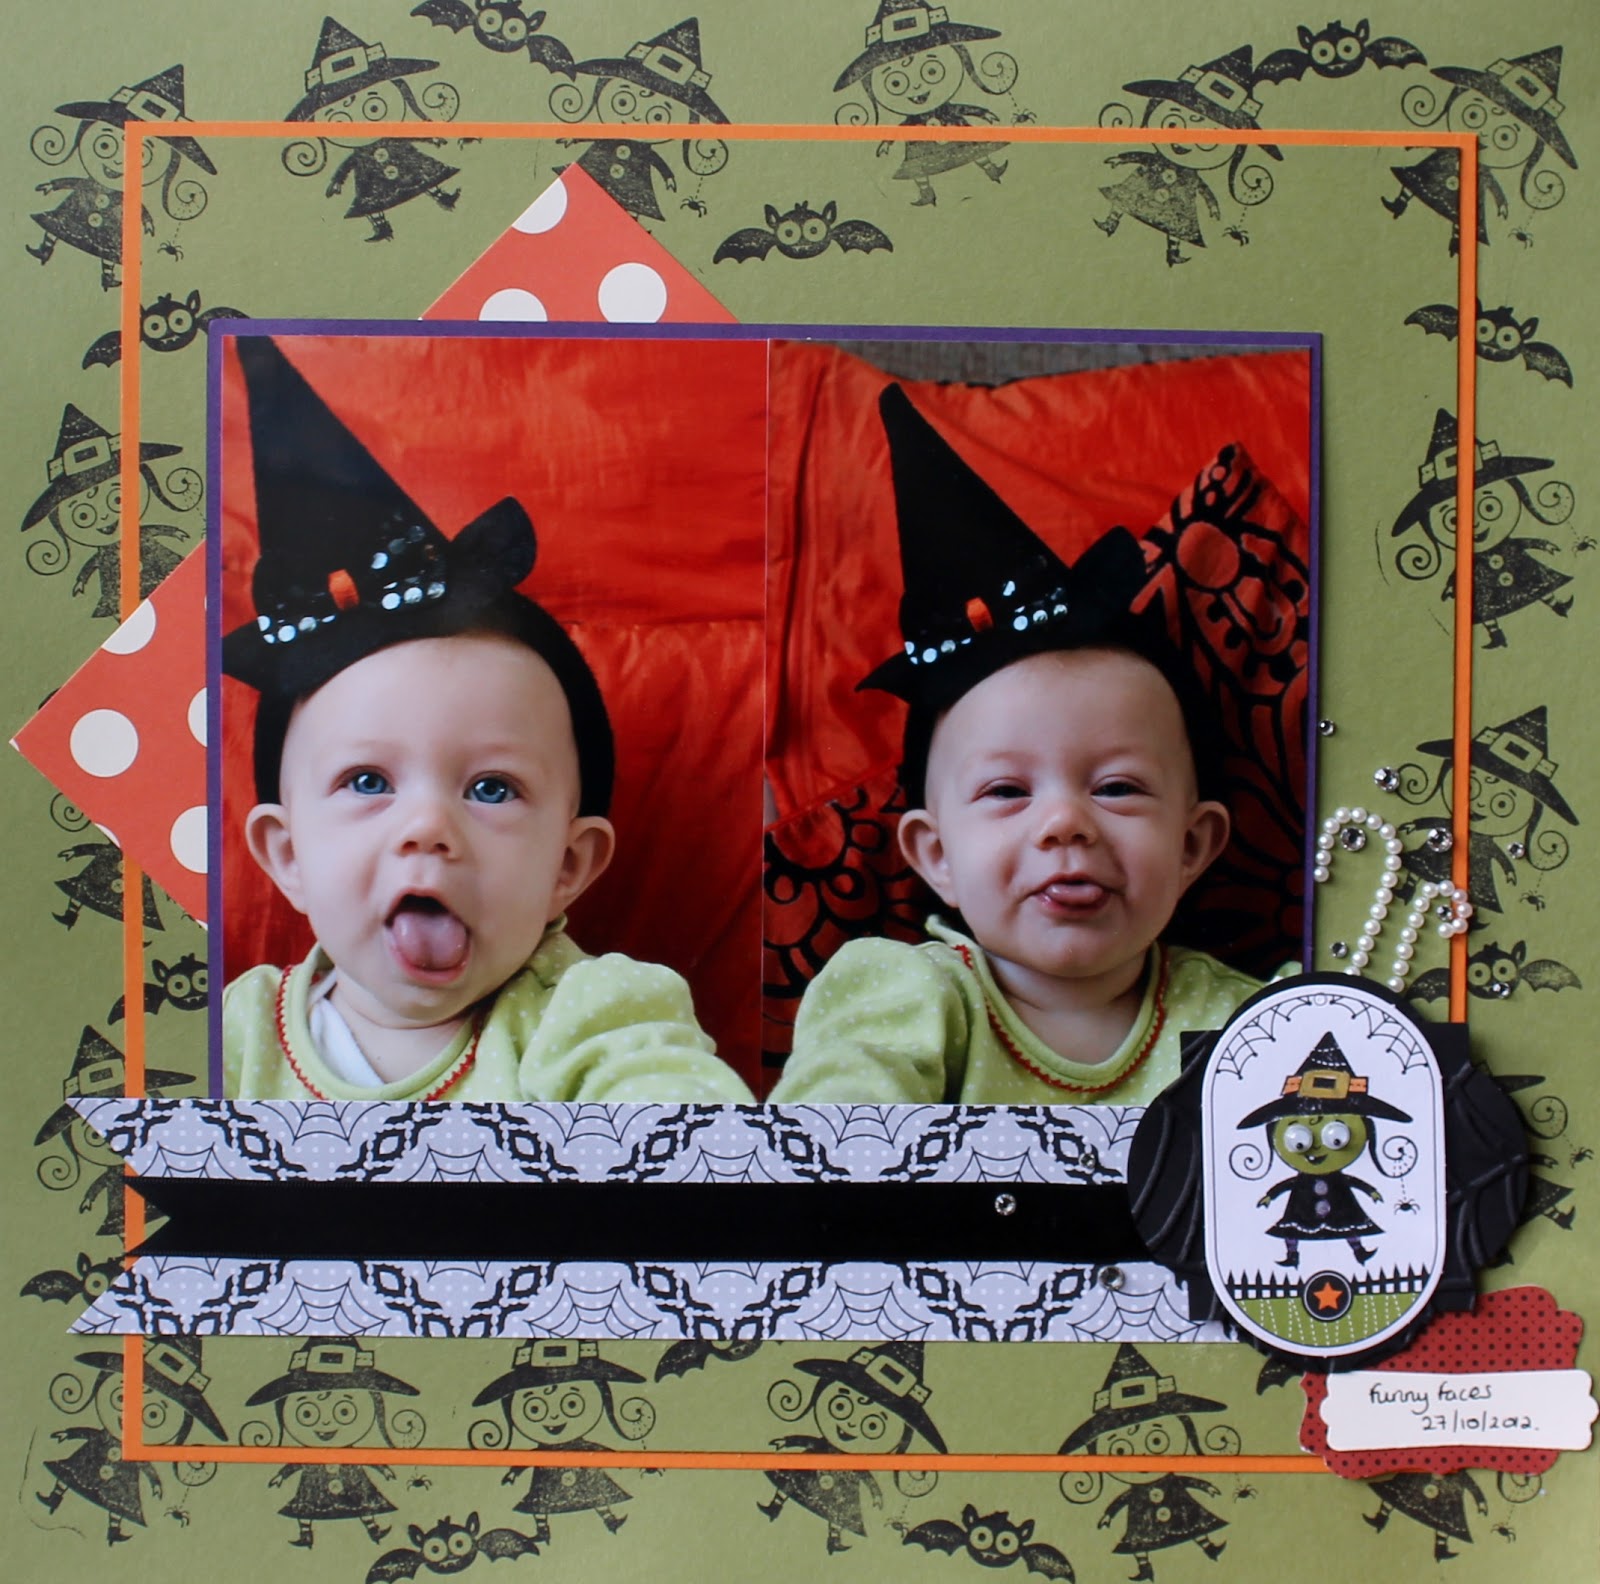
These are the two pages we created at this months Stampin' Scrapping class. I had to dress Summer up and stage these photos as my class was on Monday, two days before Halloween. But with a headband and some orange cushions the pictures had a very Halloween-y feel.
 
This first page has an Elegant Eggplant base and uses the Howlstooth and Scaringbone papers to embellish the photo. We created a rosette using last years retired Halloween papers and the fantastic Big Shot Rosette die. We stamped the Frightening Feline in black on the background then using the Illuminate pad on black for the embellishment. We used a tag fom the Ghoulish Googlies for the journalling spot and then finished with Neutrals Designer Buttons. (We also finished with a bat stamped from the Googly Ghouls set and embellished with googly eyes)
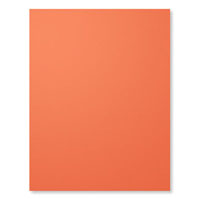
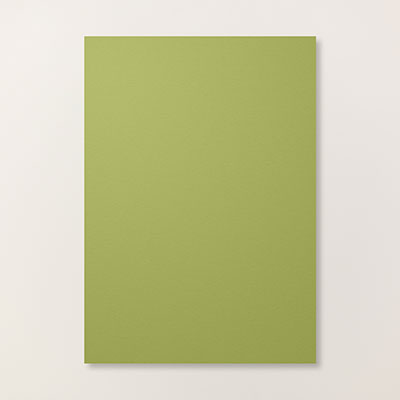
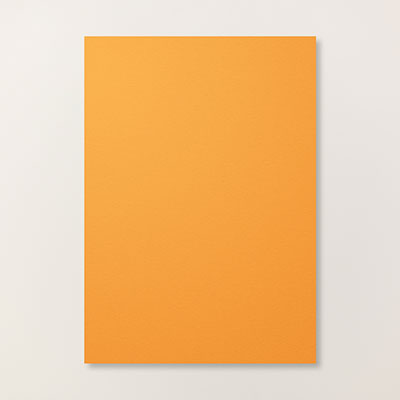
The second page we created was a bit busy for my liking so I changed it slightly for the class (instead of stamping the Googly Ghouls witch in Basic Black with stamped her with versamark instead to give a tone on tone effect rather than too much busy black). I wanted to see if we could make the layered stamping effect work with a scrapbook layout. I love this effect of stamping over multiple layers. The colours on this page are Old Olive, Pumpkin Pie and Elegant Eggplant. The stamps used are the Googly Ghouls again. This witch is just perfect for embellishing a scrapbook page ;0)
 
Right, little Miss seems to be stirring so I had better post this sharpish (I have had this in draft since Thursday but not a moment to finish it!). I hope you are all having a lovely weekend and finding plenty of time for crafting ;0)

Happy Weekend Crafting All
-X-

Wednesday, 24 October 2012

Halloween Treats


Last night I finally had some time to play with my lovely Googly Ghouls Stamp Set and Ghoulish Googlies Designer Kit. I had purchased lots of little Halloween treats for the bags and decided on the colour scheme (Basic Black, Lucky Limeade, Elegant Eggplant and Pumpkin Pie).
 
I started by running the glassine bags one at a time through my Big Shot using the Spider Web Embossing Folder. I then used my ink pads to colour the bags. I stamped the Designer Kit tags and embellished with the googly eyes. I've made one for each of my family all ready for Summer's first Halloween next week.
 
I've also welcomed three new Demonstrators to my team in the last fortnight so I have a lovely expanding team of Wight Stampers now. If you'd like to find out more about the benefits of becoming a Stampin' Up! demonstrator and joining my team, please get in touch on 01983 609249 or poulton_sarah@yahoo.co.uk.
 
Here is the welcome kit I made for my new demonstrators including a paper sampler and cardstock colour charts. If you'd like to join my team and get your hands on a sampler you can sign up now using this link.
 

Happy Crafting ;0)
-X-