Sunday 28 November 2010

Christmas Crafting Mojo

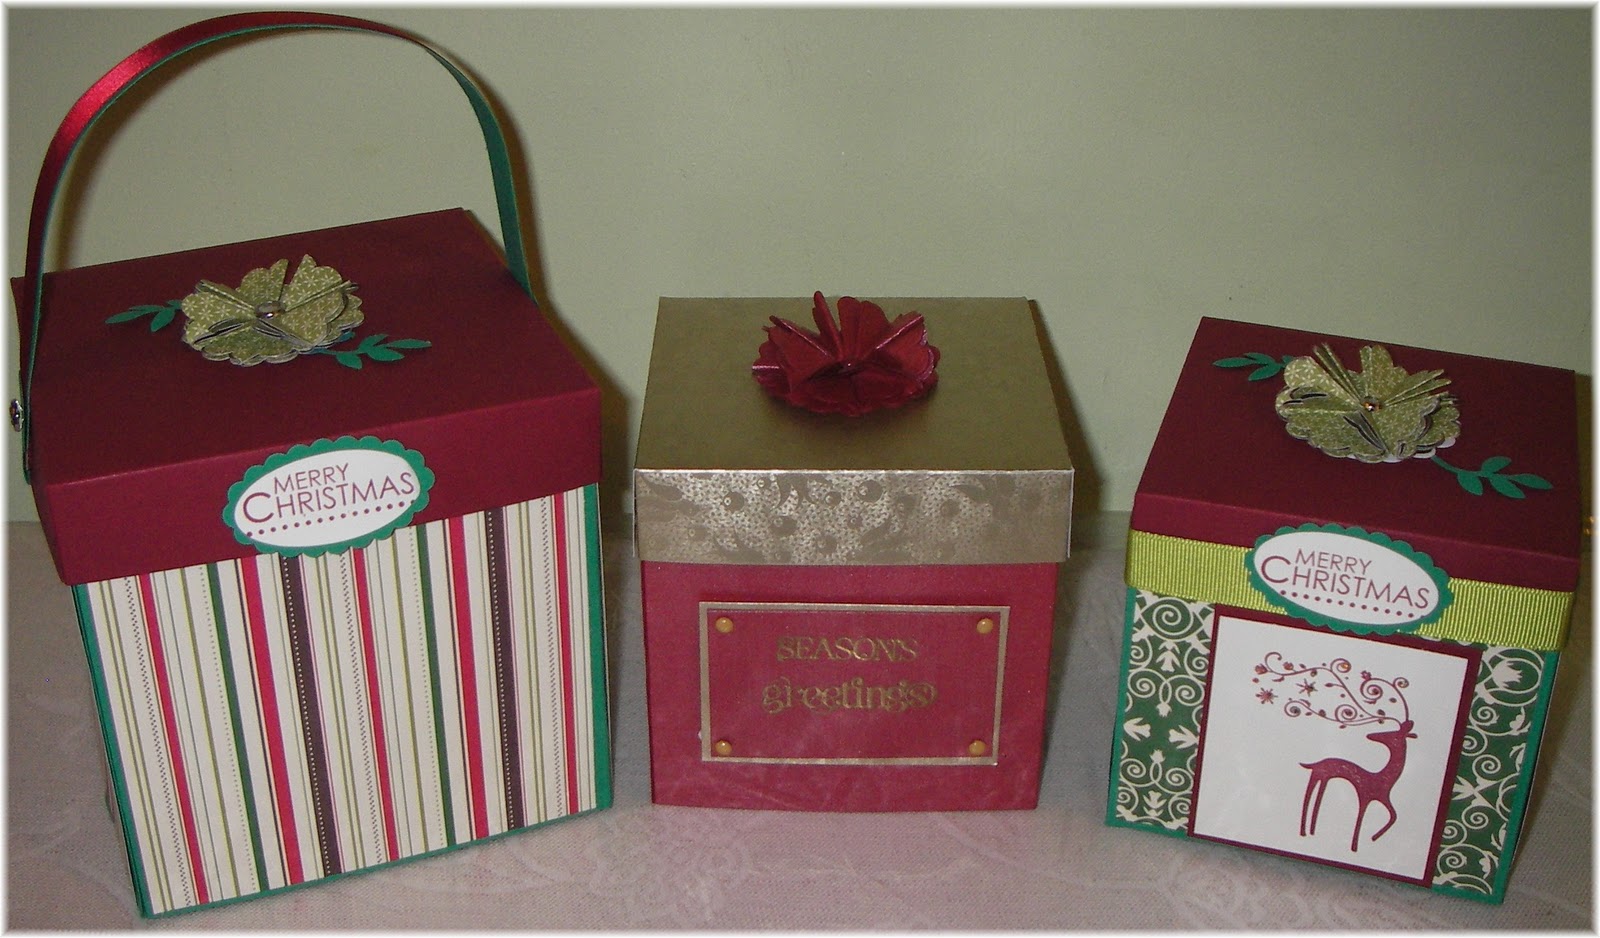
 I was up bright and early this morning seeking my scrapbooking mojo! I've signed up for a class with Shimelle which starts on December 1st. Earlier in the week I had found the perfect Kraft Paper Binder in Paperchase and wanted to jazz it up and give it a Journal Your Christmas front cover. I wanted the album all ready to go come Wednesday. I've been struggling a bit with my scrapbooking creativity recently so made myself a cuppa, stuck Love Actually on the TV (how can this film fail to make you feel festive? ;0) and cracked open my Christmas craft box (for JYC I've separated out all my Christmas papers and embellishments and put them in a separate box to make life a little easier).

So here is what I've come up with...... 

The beautiful alphas are all glittery and remind me of sparkly snow. I picked these up at the recent WCC Retreat and have been itching to use them. I am so glad I saved them for this. They are perfect. I've matched them with some beautiful K & Co Christmas papers I've had in my craft drawer for years (also waiting for the perfect opportunity to be used!).

I am so happy. Hoping this'll give me the kick up the bum I need to get back my scrapbooking mojo. I cannot wait to get started with the pages inside. Maybe I could start now (I'm only a couple of days early).

Here is a paper Christmas decoration I recently made at the WCC November crop which uses the Stampin' Up! Pretties kit and matching papers to my JYC journal above. I followed an online tutorial to make this and was so impressed with the result. The colours haven't come out particularly well in this photo (and the Pretties teardrop bead is almost invisible against my kitchen wall). Just a week to wait until I can hang it on my Christmas tree.
If you'd like to book a place on an upcoming card class or order Stampin' Up! products, please do not hesitate to contact me: 01983 609249 or poulton_sarah@yahoo.co.uk.

Wednesday 24 November 2010

Wight Craft Circle Week 38

Well I sat down this evening and tried to have a go at getting my scrapbooking mojo back.  I had a go at Week 38's Scrap With Us challenge 'Proudest Moment'. While the photo probably doesn't illustrate my life's proudest moment. It does reflect the pride I felt at that age at being a Brownie and receiving my badges. I think this LO lost its way a little bit. I loved the colours but I dont think the elements all came together quite how I had planned in my head (the Owls as in Brown Owl and the mushrooms/toadstools that we used to place our subs money on each week). I think I know how I would change things if I did it all again. However, this is why I love completing the Wight Craft Circle weekly challenges as each week pushes me to challenge my scrapbooking status quo and try new things.

In this LO there are a few Stampin' Up! elements. I used the Funky Four stamp set and the soon to be released (in next years Mini Catalogue) Owl Punch.

Any questions about Stampin' Up! or to book a place on an upcoming cardmaking class, please do not hesitate to contact me: 609249 or poulton_sarah@yahoo.co.uk.

Monday 22 November 2010

Congratulations Card

I met up with an old friend (she isnt old, but old friends as in we've known each other since we were 10) yesterday who has recently got engaged. So I spent the morning on making her a lovely congratulations card. I used the Love You Much stampset. I've had this one in my collection for a while and often forget what a lovely set this is. Perfect for an engagement card!

The colour hasnt shown up too well in the photo (I did make this card before the sun had risen yesterday so didnt get a chance to use naturally available daylight to take the pic) but its the new In Colour, Blushing Bride. I used the coloured inkpad for the heart and sentiment and then layered this with the matching cardstock and DSP. I then finished off with the Modern Label and Window Punch and half backed self-adhesive pearls.


Right, back to work and plodding on till 4pm when I can get home and start creating again ;0)

Happy crafting all ;0)

Sunday 21 November 2010

Quick Christmas Tree Tutorial

I had another go at making a Paper Strip Christmas Tree this afternoon for my sister. This time I took the Sweet and Sour DSP as my inspiration (a rather funky modern Christmas tree). I tried to remember the photos at each stage but I kept getting ahead of myself and forgetting. So I hope these instructions make sense.

Starting with a polystyrene cone from your local craft shop you need strips of double sided wrapped around the cone at equal distances. For my 7.5" cone I have spaced the double sided strips at 3.75" (from the bottom), 4.5", 6" and another strip around the top of the cone (you'll need to play this one by ear a bit depending on the size of the cone you use, you could also add additional layers of paper for effect).

 You'll then need 4 designs of double-sided patterned papers. I have cut my strips at 6" x 0.5". Again, I cannot give exact numbers as it depends on how closely bunched you want your paper skirts. I just kept cutting strips until I had my double sided strips filled.
 I then wrapped the first layer of paper round my tape to form a grass skirt of paper strips. How closely you line up the paper strips determines how neatly bunched the strips are (I would recommend overlapping each strip slightly). I spaced the paper further apart on this Christmas Tree and the overall effect is a little bit more gappy than the one earlier in the week.
You then wrap another band of double sided around the top of the strips and fold each strip back on itself forming the paper loop (I missed a photo of this stage on this layer. But you can see below when I had moved on to the Pumpkin Pie layer).  
 When you reach the top layer of papers you will need to secure them and tidy the top of the tree. On my first tree I punched a scalloped circle. I then cut into the scallops so I had lots of lengths to fold down over the top of the tree to make a 'cap' which I then wrapped in ribbon and accessorised with rhinestones. With this one I wrapped a length of Peach Parfait Poly Ribbon around the paper strips and over a circle of paper i punched to form the tree's 'cap'. I then used half pearls to accessorise the top of the tree.
 To finish I then punched two stars and sandwiched a small length of jewellery wire between them and pushed into the cap of the tree.
 The finished product (slightly different than my original):
I hope this helps for all those that asked about how I made my Jolly Holiday DSP tree. They would make a beautiful table accessory or Christmas decoration and are quick and easy to make. Any questions, please do not hesitate to drop me an email and I'll happily try and help: poulton_sarah@yahoo.co.uk.

Happy Christmas Crafting ;0)

Charity Craft Day for the Hospice

Well firstly, I just have to say a big thank you to all the lovely ladies who came along to my Christmas Craft Day yesterday. It was lovely to see familiar faces as well as welcome new crafters along too. It was a great day and I am glad all the projects were a success. I've got a couple of donations to add to the pot before I can give a proper tally of how much we raised. But its looking very good so far ;0)

I've got some photos from Mum's camera to get hold of from yesterday. But for today I'll post some photos of the projects we made.

Project One: Folded Diaper Pouch with matching notecard and sneaky Quality Street half inched from my Dads tin ;0)

I used Elegant Eggplant and Rose Red as my colour scheme (and yes I pinched matching Pink Quality Streets ;0) Season of Joy Stampset was used for the notelet.

 Project Two: Gift Card Pouch

This gift card was demo'd by the fabulous Julie Kettlewell at Convention. I was so enamoured with the colour scheme (Crumb Cake and Cherrry Cobbler) that I had to give it a go and then demo it myself at my event. This uses Contempo Christmas and the Ornament Punch with matching Very Vanilla Ribbon.

 Project 3: Sour Cream Container

I've demo'd Sour Cream Containers before. But for this we had a lovely little twist. My Mum had handmade earrings to donate for the Craft Day. They were beautiful (and I wanted to keep about 10 pairs but since I havent been able to wear earrings for years they wouldnt have been much use to me!) and we sealed them as an early Christmas gift within the container ;0) As the demo was more about the Sour Cream Container I prestamped and mounted the gift tags using the Gifted Stamp Set (Real Red and Old Olive).
 Project 4: Bird House Gift Box

This was based on a swap I received from the very talented Jo Dumbleton at the last Stampin' Up! training I attended. I'd had so many comments about it that I decided to give demo-ing it a bash. Its such a lovely idea and I give full credit to Jo for coming up with such a lovely Christmas demo. It uses: Garden Green, Crumb Cake, Real Red & Soft Suede. Along with the Serene Snowflakes stamp set and Bird Punch. The window is filled with a small piece of acetate and the project was finished off with silver elastic cord and a tiny amount of red glitter on the holly berries.
 Project 5: Christmas Gift Box
 I spent a fair few days perfecting the measurements for this box (hence so many demonstration versions for photographing). I'm really pleased with the final version and the beautiful scallop circle flower on top.
 Project 6: Dasher Embossed Jolly Holiday Card

We didn't get time to finish this card. So I each of the ladies took it home to complete from a kit version. Its a lovely quick but effective Dasher card. You'll notice that Cherry Cobbler is my favourite colour at the moment. I seem to be using it in most of my festive projects this year.
 And the final project of the day....

Project 7: Crimped Envelope Card
This used Serene Snowflakes and Dasher coupled with Tempting Turquoise and Pacific Point. This was a simple but effective card. You seal the envelope and then slice off the top. You then stamp the main envelope and run it through the crimper. The top of the envelope then forms a lid over the crimped section ;0)

As you can see from the photos, it was a very busy day! We also missed out Sandy's Cracker Dasher card which she did a quick run through of so the ladies could take it home to finish there. For future events I'll definitely be scaling back the number of projects we complete so that its a bit more relaxed. Still, we live and learn don't we? ;0)

For all those that asked about the DSP Christmas Tree I posted earlier in the week. I have another cone here that I will use to create a tutorial for you this afternoon. Check back later to see that.....

Thanks for stopping by.

-XXX-

Friday 19 November 2010

Bundling Up For Christmas Promotion

 Happy Christmas Crafting!

Stampin’ Up! have launched a fantastic promotion for November and December, buy a qualifying bundle and receive your choice of 4  brand new ribbons for free (and they are lovely- I can feel a Journal Your Christmas purchase coming on ;0)


The bundles are:
 These are the ribbons you can get for free:
 The Welcome Christmas bundle includes the following exclusive Designer Series Paper (not in the current catalogue and only available for a limited time). Christmas Cocoa Paper:
To place an order and to receive your Christmas goodies and free ribbon contact me on 609249 or poulton_sarah@yahoo.co.uk. I can now accept payment by Visa, Mastercard or Visa Debit just to make life a little easier and less complicated for you ;0)

Thursday 18 November 2010

A Jolly Holiday Christmas Tree

I have been busy beavering away at home getting everything ready for my Christmas Craft Day on Saturday in Cowes. As part of my preparations I have been making a few Christmas decorations for the tables to festively theme the event. Here is last nights effort. I had seen something similar online and wanted to have a go at recreating it using the Stampin' Up! Jolly Holiday Designer Series Papers. I was really pleased with the result. I finished it off with some rhinestones and a Cherry Cobbler star (mounted with jewellery wire).
Happy Crafting ;0)

Sarah
-XX-

Tuesday 16 November 2010

Workshop Makes

I've finally gotten around to uploading my photos of last weeks workshop makes. I had two fantastic workshops (homemade cakes galore and blue cheese scones to die for) with two absolutely lovely hostesses. Here are the projects I put together to demonstrate for the lovely ladies:

Demonstration: Christmas Stamped Candle.

I'd been looking at online tutorials for cande stamping and decided to bite the bullet and have a go at making one. I am so pleased at how they turned out at both workshops. This is my practice run candle and even this one was pretty impressive (I'm easily pleased). For this I used: Season of Joy (currently part of the Bundle Up For Christmas promotion above), tissue paper and a plain cream coloured candle.

 Excuse the wonky photo. Not sure why the candle is half tipped over.
 Side view of the coloured design I used (in my finished candles I used self adhesive rhinestones in the centre of the small green flowers). All tied up with Real Red Satin Ribbon and a hand made gift tag.
These are the Make and Take card designs. This was created with Real Red & Old Olive using Contempo Christmas and Baroque Motifs (the most versatile flourish stamp is in this set. I use it all the time). I also used the Ornament and Scallop Trim punches to finish off.

To get in touch about anything Stampin' Up! or craft related please email: poulton_sarah@yahoo.co.uk or call 609249 / 07830 343830.

Saturday 13 November 2010

Catching up with the WCC ladies

So I finally took some time today to catch up with the Wight Craft Circle Scrap With Us Challenges. It was the WCC monthly crop in Binstead and I managed to complete two layouts, as well as some Christmas cards, Christmas bunting and a little tree decoration (Christmas is definitely my papercrafting theme at the mo ;0)

It was lovely to catch up with the ladies and have a bit of a crafty chat. I am very spoilt with all the crafting I am getting to do at the moment. Convention last weekend, the crop this one and the Charity Christmas Craft Event next Saturday. And all this will be leading up to December 1st and the start of Journal Your Christmas (which I am no where near prepared for but excited about all the same).

So here are todays LOs:

Week 35: Me in 2010

I chose to focus on Stampin' Up! and the year I have had from making new friends, demo-ing, convention and just loving being creative again. The big 'Sarah' tag was made by the lovely Debbi Taylor, my roomie at Convention. I wanted to incorporate this into the design as I loved the glitter and colours so much. I designed the LO with this in mind and used the Sweet and Sour DSP to coordinate.

 
Week 34: The Great Outdoors

I couldnt get a good photo of this LO. But I really enjoyed doing this page and the colours were so lovely together (Garden Green & Elegant Eggplant). I used the Scallop Trim Border Punch to add additional strips to A4 cardstock to make this 11 x 8.5 LO. I chose this photo as it was such an iconic image from my childhood. This photo was in frames in my parents home as well as in my grandparents. I remember seeing this daft old picture of me all over the place when I was younger ;0)
So I'm not completely up to date just yet. But it got me back in the scrapbooking swing! I think I am a bit out of practice having put all my scrapbooking aside since the WCC Retreat last month.

Any questions about Stampin' Up! or the products, please do not hesitate to get in touch (poulton_sarah@yahoo.co.uk or 01983 609249). Also, only a few more days to book for the Hospice Crafting Fun Day next Saturday (Nov 20th). It'll be a great day including some lovely make and takes and demonstrations. Just £20 for a day of crafting fun.

Happy crafting
-x-

Monday 8 November 2010

Convention Make & Takes

I thought I would do a quick post for the day to share the Make and Takes we completed at Convention with the stampsets we received in our registration bag (I'll have to take a pic of that and share it another day!).

First pic of the day: Rose & Peg working on their Make & Takes. As you can see Peg is working hard at looking busy ;0)
 This is my favourite of the projects we made. This is a watercolour effect card using the new Stampin' Up! watercolour paper and the Just Believe set. Colours: Bashful Blue, Not Quite Navy, Old Olive & Pear Pizzazz. It is made using the new Colour Spritz tool (wasnt convinced by this till I actually used it! I am now a convert to spritzing!!!). I am definitely going to be recreating this effect. Very simple yet beautiful.
 This second project was made using the Party This Way set. Colours: Bashful Blue, Melon Mambo, Pear Pizzazz and So Saffron. You stamp out two of the arrows and cut them by hand. You then pierce a hole through one through to the card underneath. You attach with a brad. Then stick the other arrow on top to make a spinner.
 We also made this lovely little gift pouch. This was again made with the Just Believe stamp set. Colours: Pear Pizzazz with Chocolate Chip Striped Grosgrain Ribbon. This pouch is then filled with the little mini notecards below.

Colour combos: Pear Pizzazz, So Saffron & Melon Mambo.

We had so much fun making these. I was so inspired by all the projects I saw this weekend and by trying new techniques and ideas. If you'd like to find out more about Stampin' Up! or how you could join me next year in attending convention at Disneyland Paris, then please just drop me a line at: poulton_sarah@yahoo.co.uk or 01983 609249.

Sunday 7 November 2010

Home from Convention 2010

And I dont even know where to start in talking about it. There was so much happening and so many lovely crafting projects and so many lovely people. So I'll start at the beginning....

One big draw for me about convention was knowing that Stampin' Up!'s founder Shelli would be attending and speaking on stage. I've followed her blog for inspiration since I joined with the company in February. It is Shelli and her family who grace the first couple of pages of the Idea Book & Catalogue each year. Well it turns out she was the loveliest of ladies. She took time out to chat and be photographed with every and any Demo who approached her. She sat here being photographed for about 2 hours on the Thursday giving every Demo a chance to chat to her. I got in there first thing knowing i'd bottle it if I didn't get in there quick ;0) 

Stampin' Up!'s European Convention was attended by 300 Demonstrators from France, Germany and the UK and was held at Addington Palace near Croydon. The theme this year was 'Share What You Love' and we attended classes, Make and Take sessions and the Annual Awards Dinner. I loved meeting up with my upline Michelle and the other lovely ladies in our team.


 The picture above was taken during the Awards Dinner when the Top 25 UK Demos were announced (Shelli gave each of the 25 a rose as they came up onto stage). The photo shows the lovely Peg on the end celebrating No 24 and on the far left Carole celebrating 14! Go Pink Ladies!

This is Michelle and I up on stage posing for a photo yesterday. Her hardwork in recruiting and personal sales earned her several recognition awards but most importantly she is now the UK's No 1 Stampin' Up! Demonstrator.
I was in love with the stage set. I wanted to take the giant stamp in the middle of the stage home and use it as a coffee table. It would have been a real conversation starter and the perfect size ;0)

Right, I have so much more to chat about. I havent even started on the crafting and the beautiful swaps and projects I received. More on that later.

Thanks for stopping by ;0)

-XXXX-

Friday 5 November 2010

Hellooooo from Convention

Well actually this is a scheduled post so not technically from Convention. But as I am there now I wanted to schedule a post to show you my hundreds of different swaps I made for the event.

Here is a pic of my main general swap (120+ made): 

 For this my Mum and I started collecting bits and bobs and drying them out back in September. We created a scented Christmas pot pourri using garden items such as fir cones and beech nuts. I then emptied out my spice cupboards to make the little scented gingerbread men (you can just about see him in the left of the bag). You basically add LOTS of mixed spices (ginger, cinnamon, nutmeg, cloves) in a bowl and add spoonfuls of apple sauce till you have a stiff dough. You can then roll out and cut Christmas-y shapes. You leave these to dry and you can then use them in pot pourri or as tree decorations. If you hang them near a radiator the heat makes the whole room smell like Christmas ;0)

To finish these little bags off I used the Jolly Holiday DSP and Season Of Joy Stamps (with Cherry Cobler Ink).

Here is a pic of just a small selection of each of my swaps laid out at home. Top left: Card Candy Swap. Bottom Left: Business Tool Swap. Centre: CMC 9cm square Mini LO swap (90 made!). Right: my general swap detailed above:
 Here is a close up of my card candy swap. I chose the Playful Pieces Level 3 Hostess Set as the stampset for my candy. I then themed the pieces around the Sweet & Sour DSP (Rose Red, Pumpkin Pie & Very Vanilla).
I will post more detail upon my return. But just wanted to upload a little something in my absence to show you all what has kept me so busy this past couple of months.....

Thanks for reading.

-XXXX-

Tuesday 2 November 2010

A little convention make....

I'm slowly ticking off the million and one jobs that need completing before Convention on Thursday. Last night I tackled the job of making myself a bag tag! Now I knew nothing about this till I noticed a thread on In Love With Stamping. A lovely lady there (Sassy Stamper) was offering a blank Top Note cut out for us to accessorise to make into our bag tags. I was left wondering what I would need a bag tag for. Then all became clear with a bit of investigating. We are all given the same bag at registration and so everyone makes their own tag to identify theirs and ensure it doesnt get mixed up with the other 299 bags hung on chairs and hidden under tables ;0)

So here is my effort. I used some die cut letters that Paige cut ages ago when she was demoing the Cricut for me (and I've kept tucked away in my craft box knowing I'd use them one day! Thank you Mrs P for usefully cutting my name for me!). I covered them in Crystal Effects then emptied an entire pot of Rose Pink Cosmo glitter on top of that (I didnt use it all I might add, I did pour the leftovers back in the pot). Once that was dried I added another layer of Crystal Effects over the top to save me leaving a trail of glitter all over convention. I then stuck these to the top note shape (which I had covered in Sweet & Sour DSP) and blinged a bit more with jewels from my stash box ;0) I'm so pleased with the result. All things glittery are very me ;0)

Also, I wanted to share with you a lovely Halloween Treat Bag I received yesterday. I was made up as I had been admiring these over on Ladybird Ladybird over the weekend. I popped in to see Mrs P on my way back to work after lunch and she'd saved one for me ;0) I brought it back to work and photographed it straight away as I couldnt guarantee the urge to eat the choccie treats wouldnt overcome me during the afternoon (which it did ;0). Isn't it lovely? And I love the Halloween stamps. The witch is just fantastic. I wonder which company makes them?
-XXX-