Showing posts with label contempo christmas. Show all posts

Thursday, 1 December 2011

First JYC Day!!!

After much anticipation it has finally arrived!!!! December 1st is here which means one thing- Journal Your Christmas begins!! I've been so busy with Christmas crafting preparation (please come along on Sunday to the Gifts for Girls Christmas Fair at St Georges- you'll get to see that all my efforts have not been in vain!!) that i havent had a second for my own crafting (goodness knows where I am going to magic all my Christmas cards from this year?). I have been so looking forward to starting my Christmas  Journal and taking a few minutes a day to create something festive. There are so many things happening at the moment that I want to capture and remember that it couldnt have been more perfectly timed.

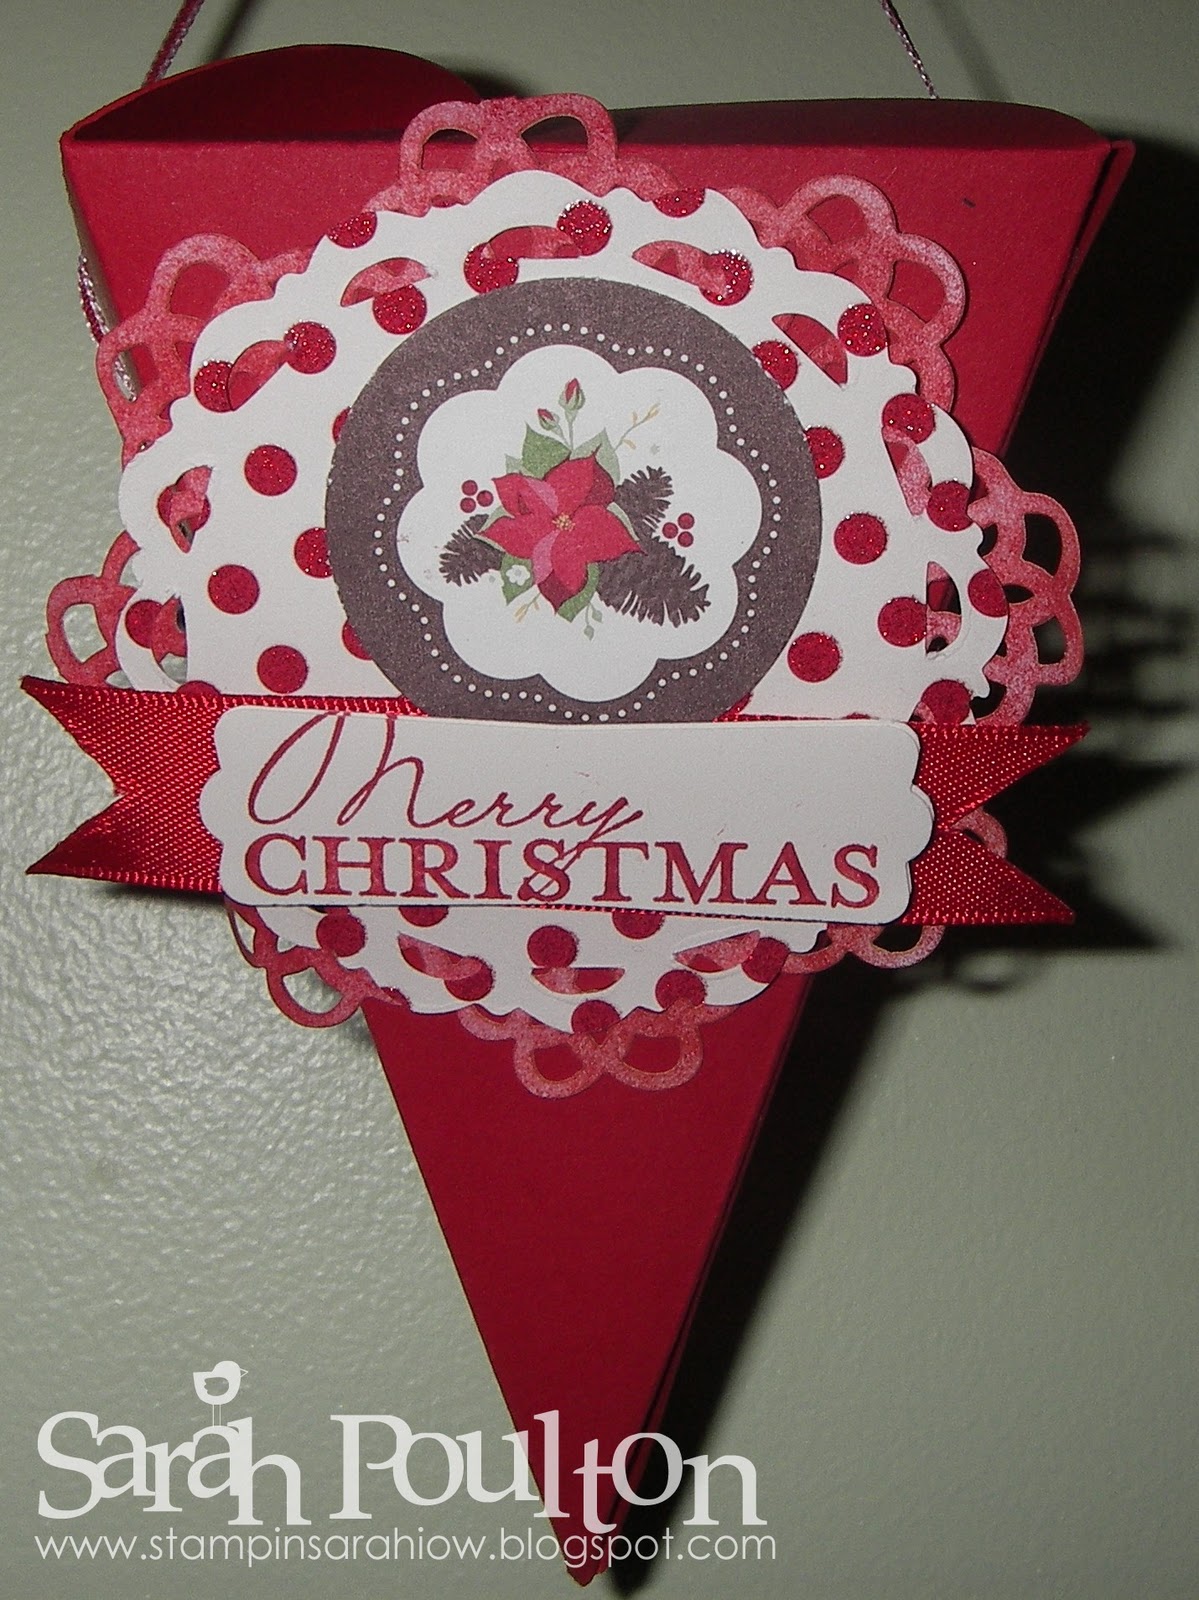
But before we get on to my JYC album.  Here is a little something Stampin' Up! for the day. I finally purchased the fab Petal Cone Die and couldnt wait to create a festive cone with my card class ladies. This was inspired by some beautiful Christmas bunting I saw on the Convention boards. I used the Pennant Die and the Holly Berry Designer Series Paper to create the embellishment. This would look lovely hung on a Christmas tree filled with chocolately treats.
 And now onto the exciting JYC photos. I'll have to apologise for the weird lighting in these photos. Wouldnt it be lovely to get home while there was still good light. I'll try and take pics again at the weekend which might reflect things a bit more accurately.

I quite like this 'atmospheric' photo. To some this might look like a messy craft desk. But actually I find this pic quite inspiring as you'll see all things that I'd been turfing out of my Christmas box to make a start- alphas, Starbucks cup, scissors (and weirdly my phone- not sure where that appeared from?).  Anyways, as you can see from my album cover, this year I have sworn myself to simplicity. With my little monkey growing ever stronger (starting to feel some flutterings now) and my energy levels not quite back to normal I made the decision to keep this album simple and not sweat the small stuff. Last year I put so much pressure on myself to create every page as a work of art.  This year I want to capture mood and emotion and people. The journey is the important thing not the endless hours of worrying about embellishments. So here is my simple black folder embellished with a lovely reindeer decoration and matching letters (I am just waiting on a SU order to fill the space under the 'C' with a red glimmer paper heart- a splash of glittery colour).
 Here is my Christmas Manifesto for the album. I took Shimelle's Manifesto as my foundation but personalised it for me right now and what i hope to  capture.  I have just stuck this to the inside front cover of my folder. I wanted my Manifesto to balance the seriousness of things with the fun and humour of Christmas festivities. And of course the excitement of what looking ahead to 2012 will bring.....
 Day 1:

I found in my Christmas box a series of these plastic wallets with sub divided sections (about the size of a business card or ATC). I thought these would be the perfect solution to simplifying my album for days when there is not so much going on. Today I had some  journalling that I wanted to capture and tuck away so this wallet gave me the opportunity to make a pretty page and still tuck away my writing. I am using the bottom two spaces for Day 2 so as not to overstuff my album like I did last year (simple and space saving- just what I need!!!)

For my numbers this year I am using a FANTASTIC Stampin' Up! die that I was given from the USA (sadly not available here just yet). It creates little windows and is perfect for making advent calender windows for each days number I have cut this from Crumb Cake and then inked with Old Olive to match the mood of the papers.

 Just a couple more pics to show a bit more detail....
This is my journalling envelope tucked away in the pocket.
So thats my Day 1 complete. I am so happy to have a simple solution and I am really looking forward to seeing where December takes me.

Happy Crafting
-XXX-


Friday, 11 November 2011

Pennant Punch Christmas Tree

The final project from October's Card Class is this masked Pennant Punch Christmas Tree card. This was inspired by this card over on Vicky's blog. As regular readers will have seen, I adore this masking and sponging technique and could make a million Christmas cards this way.

I created a mask using a post-it note and the scalloped pennant from the Pennant Punch. I then sponged over the mask with Pear Pizzazz. With the mask still in place I stamped part of the large tree from Lovely As A Tree in Old Olive and Garden Green to give the leaf texture. The trunk was stamped using a stamp from Trendy Trees (a bit wonky I'm afraid- must find where I hid my Stamp-A-Ma-Jig).

I created a second mask using a torn post it and sponged over more Pear Pizzazz to create the grass and then finished with Garden Green ink to stamp the Contempo Christmas sentiment.
Hooray for Friday ;0) I'm off to my monthly crop tomorrow and i haven't managed to go for several months. Will be lovely to catch up with the ladies (as well as get my Convention swaps finished once and for all!!!).

Happy  crafting ;0)
-X-

Thursday, 10 November 2011

An unusual Christmas card...

So this was inspired by a beautiful card I saw over on In Love With Stamping (I am having trouble with my internet at the moment and cannot open another tab to look up credit for this card). I just fell in love with this unusual colour combination for Christmas- More Mustard and Cajun Craze.

This was also my first experimentation with the baby wipe technique. And i really like the effect it gave, especially with such a large stamp like the Medallion background stamp. It created a striking but subtle background.

I embellished with a line of Basic Rhinestones and a bow tied with Real Red Satin Ribbon. The ornament was raised with dimensionals.

Please excuse the somewhat haphazard stamping of the greeting from Contempo Christmas. This goes to show that even us Demonstrators have issues with over inked stamps from time to time (I really must remember to check the stamp before putting rubber to cardstock- especially if the greeting is the last step to finish the card!!)

I hope you enjoyed this unusual take on a Christmas card. I think I might get a little more creative with my colour combos going forward....

Friday, 14 October 2011

Lovely as a Tree stepped card

This card was inspired by a card I came across in the In Love With Stamping gallery. I love this stepped effect paired with Lovely as a Tree. It was quick and simple to make and so Christmas-y.

Again I used Stampin' Up!'s Shimmery White cardstock and Night of Navy. The background Night of Navy panel was heat embossed in white. I drew on the snowflakes with my white gel pen. The sentiment is from Contempo Christmas and sets off the colours of the card really well.

So that concludes my week of Christmas cards. But if you come back tomorrow I have one final Christmas project to share with you. Just a couple of quick and easy gift box ideas.

Happy Crafting (and a happy start to the weekend too).
-XX-

Tuesday, 11 October 2011

Christmas Cards Day Two

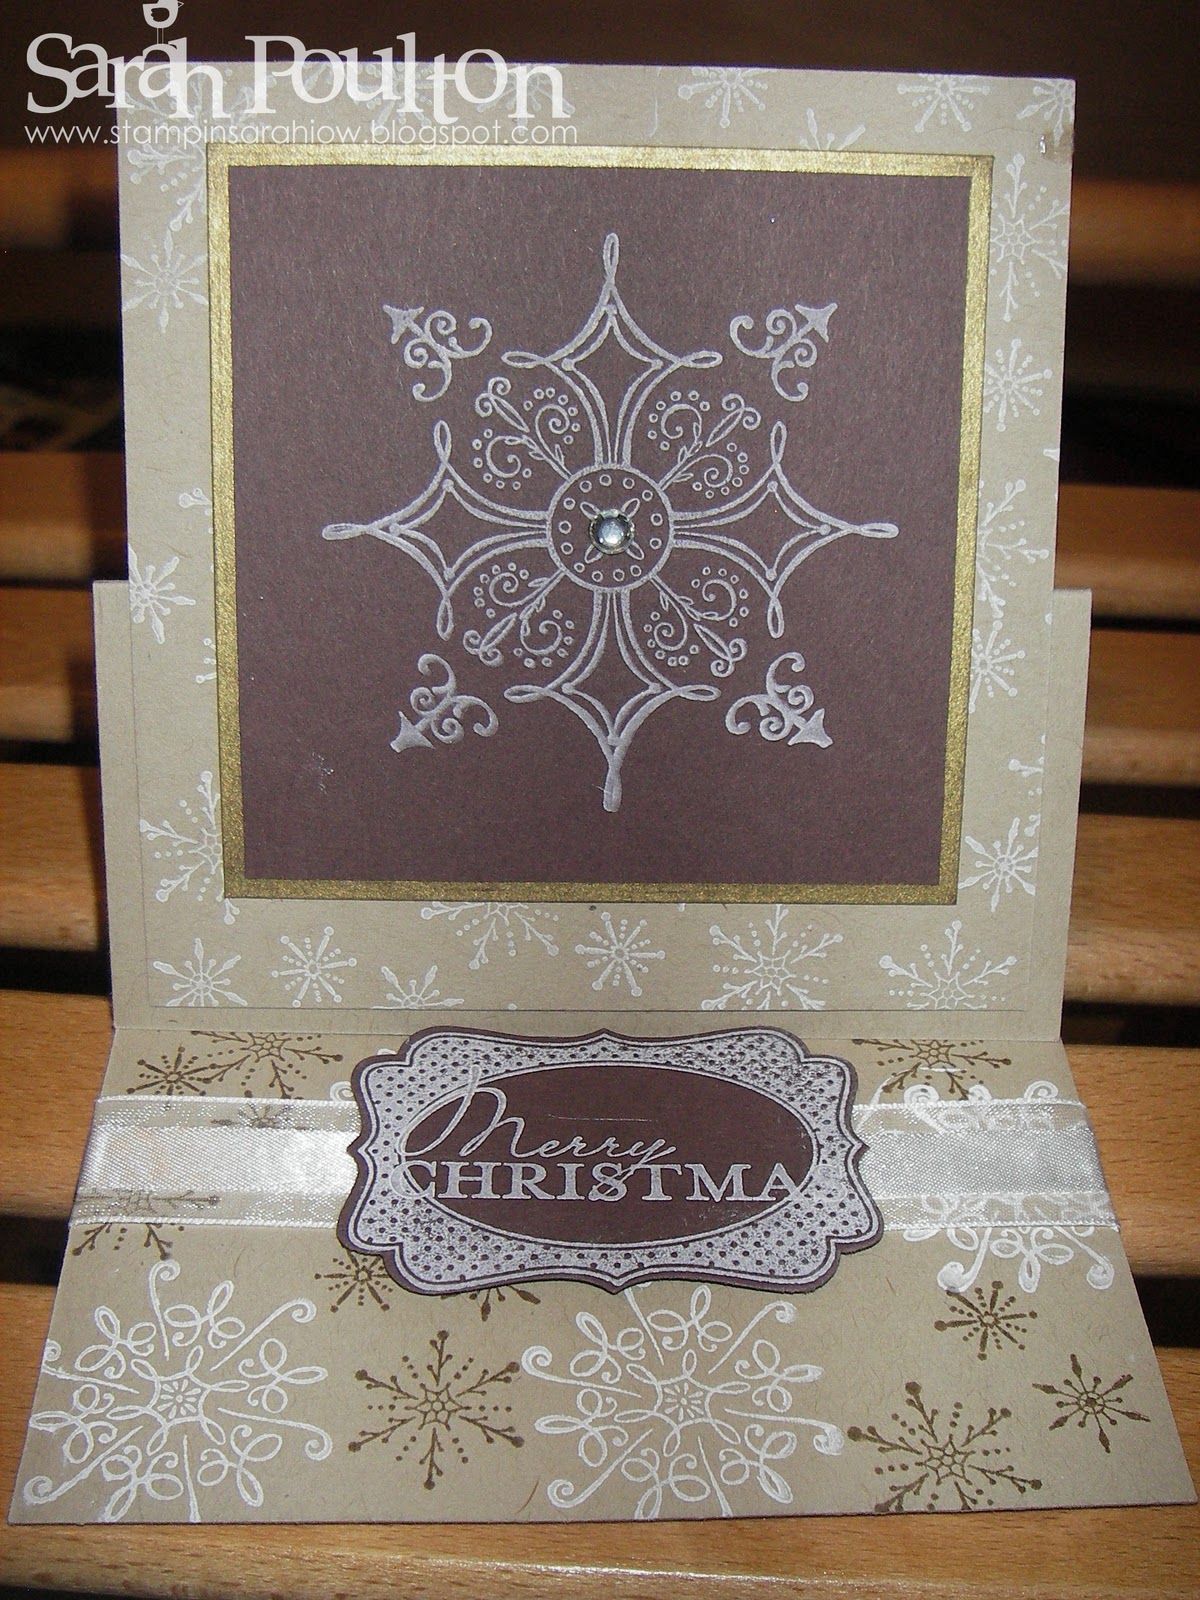
Here is another recent Christmas Workshop Make and Take card. This time I went for a more unusual Christmas colour scheme: Chocolate Chip, Whisper White and Crumb Cake. I'd not thought to use shades of brown with Serene Snowflakes before and was really pleased with the effect.

This is a straightforward easel card with a mounted Chocolate Chip panel with the main Whisper White snowflake stamped on to it. This panel is edged with a generic gold calligraphy pen  (sadly not Stampin' Up!). The sentiment is from Contempo Christmas and was stamped onto one of the frames from the Four Frames stamp set (and punched with the Decorative Label punch). This was then mounted with dimensionals over a length of Whisper White organza ribbon.

I hope you're enjoying the Christmas cards so far and please come back tomorrow to see the next in the series, a creation with acetate and Stazon....

Happy Crafting ;0)
-X-

Saturday, 17 September 2011

Good morning lovely crafters.

I'm posting my Saturday projects early today as I'm off to High Wycombe for a Stampin' Up! training afternoon. Hopefully we might get a few sneak peaks of some more lovely new products launching on October 1st. I'm so excited as I love meeting up with other Demonstrators and catching up with the Pink Ladies (the team of Demonstrators I am part of).

Now speaking of sneak peaks. Here are a two layouts I created for my Stampin' Scrappin evening. Those with eagle eyes might notice a new stamp used in this Christmas tree design (and a couple of the baubles are also stamped with the fab new In Colour Lucky Limeade). I cased this layout from the current Stampin' Up! catalogue (page 26). I've loved this tree made of baubles since the catalogue came out and thought it was time I had a go.

The base colours are Wild Wasabi and Crumb Cake. The baubles are stamped and punched with the Ornament Punch and Contempo Christmas (and sneak peak set Tags Til Christmas) in Pear Pizzazz, Wild Wasabi, Lucky Limeade, Old Olive. I also punched a few from scraps of Jolly Holiday Designer Series Paper which is now sadly sold out.
 The second layout is on a base of Cherry Cobbler with strips of Jolly Holiday DSP. The lovely scalloped dotty Chocolate Chip ribbon is another exclusive sneak peak from the catalogue launching October 1st. The flourish from Season of Joy was stamped as a border down the side. The embellishments were stamped in Old Olive and Cherry Cobbler (onto Very Vanilla) and raised with dimensionals (and accessorised with Pearls).
I will be holding a New Catalogue Launch Open House on:


Saturday October 1st.

10am-12pm or 1-3pm.

I will have two Christmas themed make and take projects as well as a complimentary copy of the Stampin’ Up! Catalogue for every attendee. The cost for the session is £4 to include refreshments, catalogue and project kits. It will be a great introduction to all the lovely new products in the new catalogue. Please get in touch on poulton_sarah@yahoo.co.uk or 07830 343830 / 01983 609249 to reserve your space.

Happy Saturday Crafting ;0)
-x-

Sunday, 21 November 2010

Charity Craft Day for the Hospice

Well firstly, I just have to say a big thank you to all the lovely ladies who came along to my Christmas Craft Day yesterday. It was lovely to see familiar faces as well as welcome new crafters along too. It was a great day and I am glad all the projects were a success. I've got a couple of donations to add to the pot before I can give a proper tally of how much we raised. But its looking very good so far ;0)

I've got some photos from Mum's camera to get hold of from yesterday. But for today I'll post some photos of the projects we made.

Project One: Folded Diaper Pouch with matching notecard and sneaky Quality Street half inched from my Dads tin ;0)

I used Elegant Eggplant and Rose Red as my colour scheme (and yes I pinched matching Pink Quality Streets ;0) Season of Joy Stampset was used for the notelet.

 Project Two: Gift Card Pouch

This gift card was demo'd by the fabulous Julie Kettlewell at Convention. I was so enamoured with the colour scheme (Crumb Cake and Cherrry Cobbler) that I had to give it a go and then demo it myself at my event. This uses Contempo Christmas and the Ornament Punch with matching Very Vanilla Ribbon.

 Project 3: Sour Cream Container

I've demo'd Sour Cream Containers before. But for this we had a lovely little twist. My Mum had handmade earrings to donate for the Craft Day. They were beautiful (and I wanted to keep about 10 pairs but since I havent been able to wear earrings for years they wouldnt have been much use to me!) and we sealed them as an early Christmas gift within the container ;0) As the demo was more about the Sour Cream Container I prestamped and mounted the gift tags using the Gifted Stamp Set (Real Red and Old Olive).
 Project 4: Bird House Gift Box

This was based on a swap I received from the very talented Jo Dumbleton at the last Stampin' Up! training I attended. I'd had so many comments about it that I decided to give demo-ing it a bash. Its such a lovely idea and I give full credit to Jo for coming up with such a lovely Christmas demo. It uses: Garden Green, Crumb Cake, Real Red & Soft Suede. Along with the Serene Snowflakes stamp set and Bird Punch. The window is filled with a small piece of acetate and the project was finished off with silver elastic cord and a tiny amount of red glitter on the holly berries.
 Project 5: Christmas Gift Box
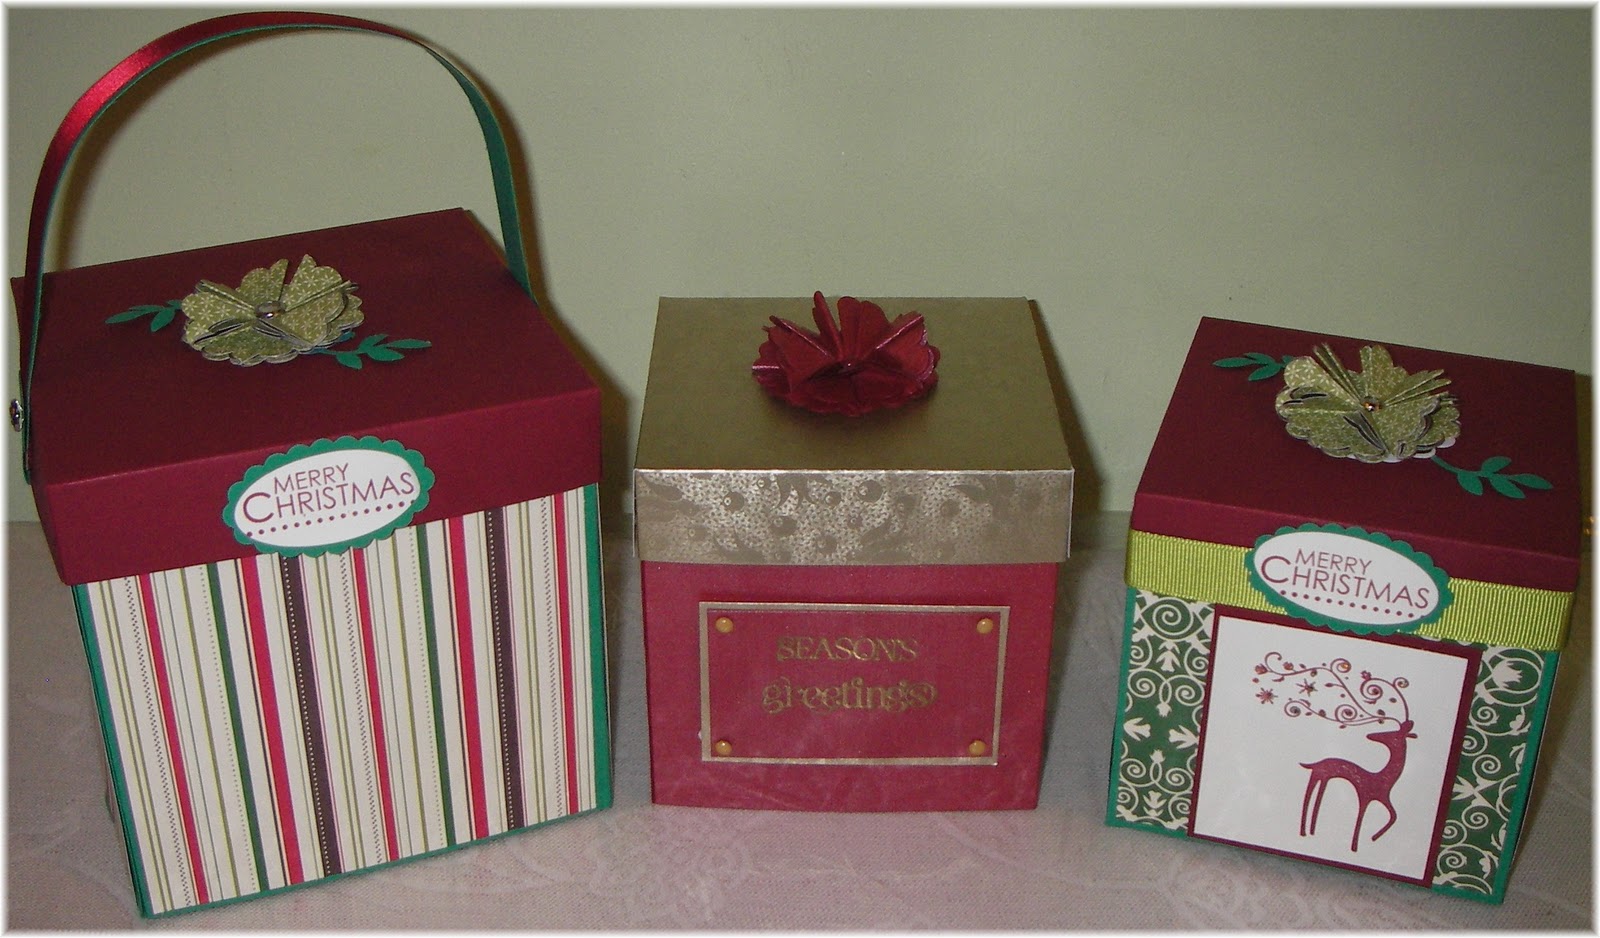
 I spent a fair few days perfecting the measurements for this box (hence so many demonstration versions for photographing). I'm really pleased with the final version and the beautiful scallop circle flower on top.
 Project 6: Dasher Embossed Jolly Holiday Card

We didn't get time to finish this card. So I each of the ladies took it home to complete from a kit version. Its a lovely quick but effective Dasher card. You'll notice that Cherry Cobbler is my favourite colour at the moment. I seem to be using it in most of my festive projects this year.
 And the final project of the day....

Project 7: Crimped Envelope Card
This used Serene Snowflakes and Dasher coupled with Tempting Turquoise and Pacific Point. This was a simple but effective card. You seal the envelope and then slice off the top. You then stamp the main envelope and run it through the crimper. The top of the envelope then forms a lid over the crimped section ;0)

As you can see from the photos, it was a very busy day! We also missed out Sandy's Cracker Dasher card which she did a quick run through of so the ladies could take it home to finish there. For future events I'll definitely be scaling back the number of projects we complete so that its a bit more relaxed. Still, we live and learn don't we? ;0)

For all those that asked about the DSP Christmas Tree I posted earlier in the week. I have another cone here that I will use to create a tutorial for you this afternoon. Check back later to see that.....

Thanks for stopping by.

-XXX-

Tuesday, 16 November 2010

Workshop Makes

I've finally gotten around to uploading my photos of last weeks workshop makes. I had two fantastic workshops (homemade cakes galore and blue cheese scones to die for) with two absolutely lovely hostesses. Here are the projects I put together to demonstrate for the lovely ladies:

Demonstration: Christmas Stamped Candle.

I'd been looking at online tutorials for cande stamping and decided to bite the bullet and have a go at making one. I am so pleased at how they turned out at both workshops. This is my practice run candle and even this one was pretty impressive (I'm easily pleased). For this I used: Season of Joy (currently part of the Bundle Up For Christmas promotion above), tissue paper and a plain cream coloured candle.

 Excuse the wonky photo. Not sure why the candle is half tipped over.
 Side view of the coloured design I used (in my finished candles I used self adhesive rhinestones in the centre of the small green flowers). All tied up with Real Red Satin Ribbon and a hand made gift tag.
These are the Make and Take card designs. This was created with Real Red & Old Olive using Contempo Christmas and Baroque Motifs (the most versatile flourish stamp is in this set. I use it all the time). I also used the Ornament and Scallop Trim punches to finish off.

To get in touch about anything Stampin' Up! or craft related please email: poulton_sarah@yahoo.co.uk or call 609249 / 07830 343830.

Sunday, 17 October 2010

A big thank you....

Firstly can I just thank all the lovely ladies that came along to my Open House yesterday. I had a really fantastic day and I really enjoyed chatting and crafting with both new and familiar faces ;0) It was a great opportunity to introduce Stampin' Up! to crafters who'd not used the products before and I'm looking forward to demo-ing at workshops next month for all the lovely ladies I met yesterday. And another thank you to Sandy for helping out and getting in some Demonstrator practice for her new Stampin' Up! business (now if we could just hurry that Starter Kit order up.....).

Lastly, a huge thank you to my Mum for all her help with my swaps and for the fantastic Pumpkin Cake she baked for the day.

Here are the projects we worked on yesterday using products from the new catalogue:

Dasher Christmas card: Night of Navy card & ink, Oval Punch, greeting from Season of Joy stampset and my new favourite punch- the Scallop Trim detail punch. We then accessorised the antlers with glitter.
 The decorated envelope using Season of Joy.
 Contempo Christmas Card:
For any other demos you'll recognise this card from the recent High Wycombe training. I loved the effectiveness of the 3D bauble so adapted the card slightly to demo yesterday. The card was created using the Ornament Punch, Contempo Christmas Stampset, new organza white ribbon, White Craft Ink, Wild Wasabi or Cherry Cobbler ink/cardstock.


For any questions about Stampin' Up! or any of the products featured above please do not hesitate to contact me: 01983 609249 or poulton_sarah@yahoo.co.uk.