Showing posts with label Love You Much. Show all posts

Saturday, 10 September 2011

Last Chance List Blog Hop


Welcome to my little part of todays Blog Hop. Thank you for joining me from Laura's blog and I hope you've enjoyed all the inspiration so far.

For todays Last Chance List inspired hop I have chosen one of my favourite Stampin' Up! sets, Love You Much (if you click here you will find all my blogged projects using this stamp set previously). When I first discovered Stampin' Up! a couple of years ago this was right at the top of my shopping list and I will be so sad to see it retire come September 30th. Its been perfect for the recent spate of engagements and weddings amongst my friends and I've given this stamp set a fair few outings.

And on that note, that is where I am today. At one of the many weddings of 2011. So fingers crossed technology hasn't failed me and that you can all see this at the right time ;0) I will be home tomorrow and will be completing the hop and commenting on all the participants lovely projects then. Please bear with me.....
For todays project I decided to have a go at making an acetate box. I've seen lots of these made around the blogosphere and always think they look so lovely.  I wanted to use one of my less used colours, Rich Razzleberry and combine this with retiring striped ribbon and DSP (Love Letter).

My card and gift box together:
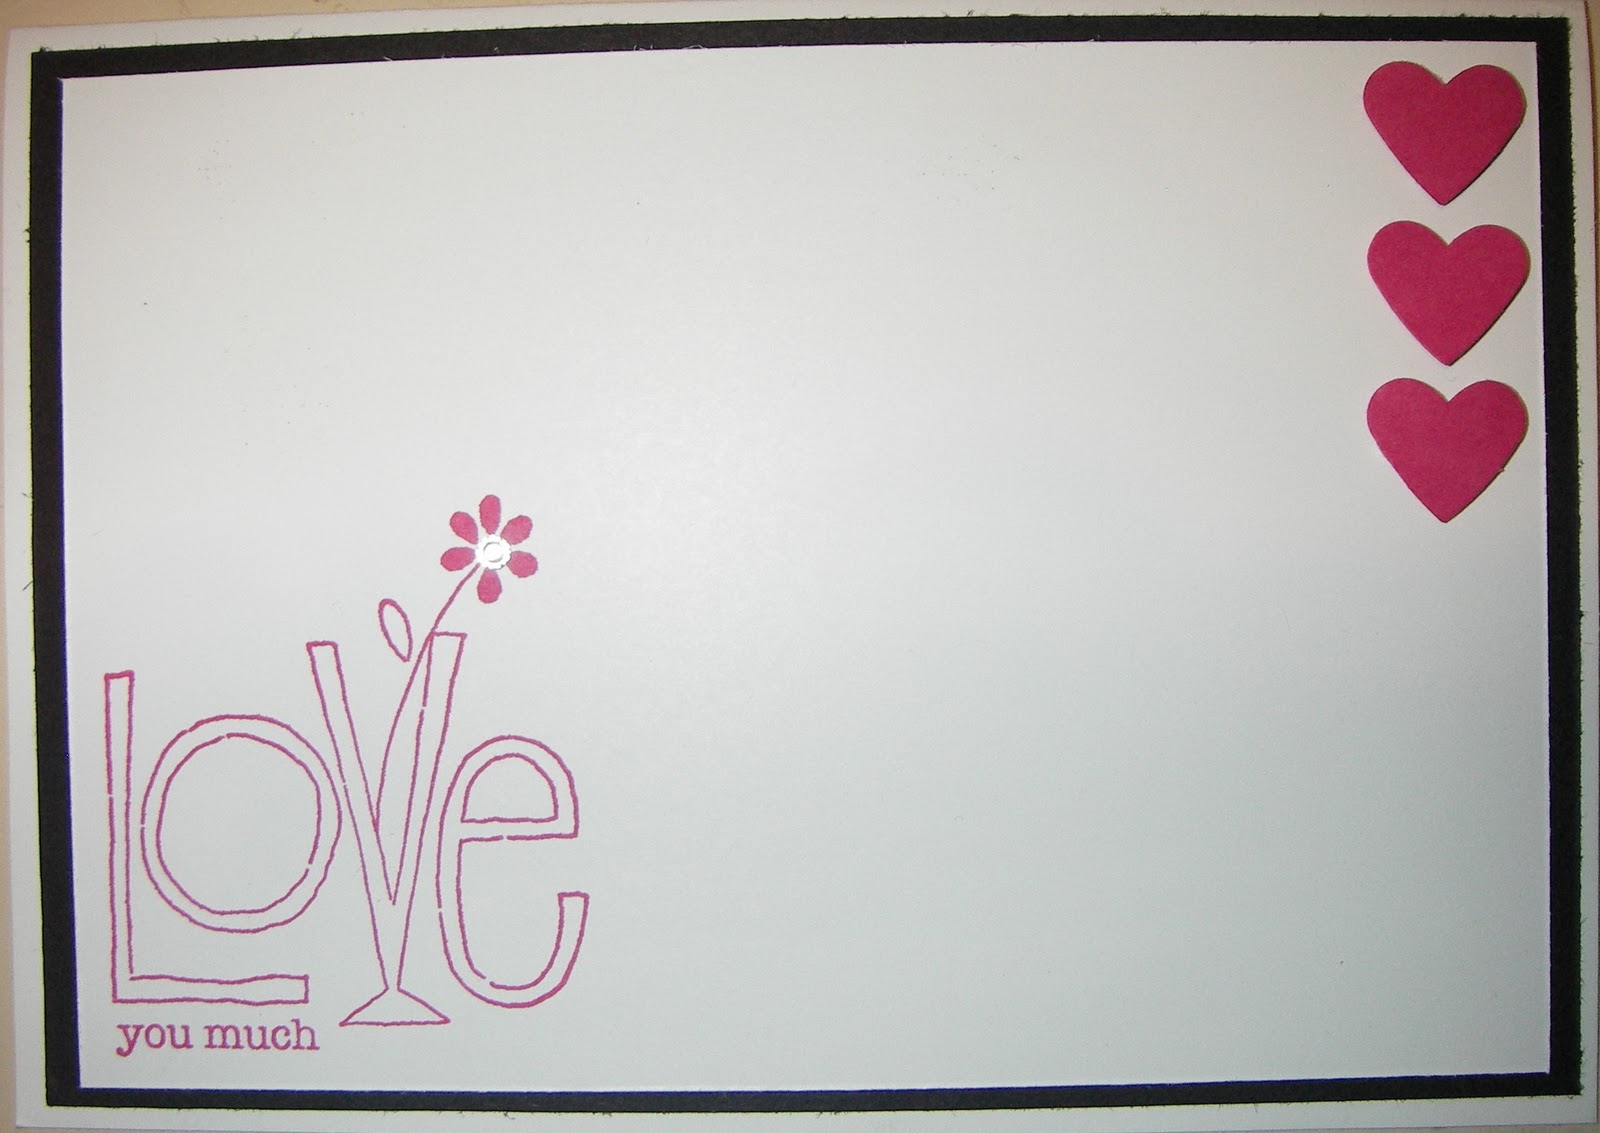
For the card I used the large Love You Much heart stamped in Rich Razzleberry onto Very Vanilla. I wrapped my Rich Razzleberry card stock layer with a trimmed length of striped ribbon and glued the heart to this. I then embellished with Basic Pearls (I used the smallest ones for the centre of the flowers on the heart and the pearl lengths to line the striped ribbon).
My acetate box is a small 2"x2" square base. Perfect to fit 4 pink heart shaped bath bombs in to make a lovely hostess gift or Valentines pressie. I created the top and bottom of the box using plain Rich Razzleberry cardstock. I then cut lengths of Love Letter DSP which I wrapped around the top and bottom. I embellished this with hearts punched with my Heart to Heart punch. The front embellishment is a Rich Razzleberry scalloped circle layered with the 'Hugs and Kisses' stamp from Love You Much (and basic pearls circling the scallops).
I hope you've enjoyed your stop by my blog today and be sure to continue by hopping onwards to Theresa's blog.

The full list of participants can be found below:

Tuesday, 12 July 2011

Stampin' Scrapping for July

Here is this months scrapbooking double layout inspired by this blog. This uses the Love Letter Designer Series paper as its core inspiration. The colour scheme is Riding Hood Red, Basic Black and Very Vanilla. I have themed the pages around love but would work equally well for weddings, anniversaries, valentines (all love related events I suppose). Although the pages look quite simple there are a lot of elements that make up these layouts.

If you'd like to come along to this months scrapbooking class there are still a few spaces left. Please get in touch on 609249 or poulton_sarah@yahoo.co.uk.

Thursday July 21st 7-10pm £8.50 inc kit and refreshments


Made using:

Papers: Love Letter
Cardstock: Riding Hood Red, Very Vanilla and Basic Black
Stamp sets: Simply Said, Paisley Prints, Love You Much, Just Perfect & Schoolbook Serif Alphabets.
Punches: Heart to Heart, Scallop Circle, Scallop Trim Border
Big Shot: Top Note, Scalloped Heart
Ribbon: Real Red Taffeta Ribbon
Embellishments: Basic Rhinestones

Wednesday, 4 May 2011

Happy Engagement Natalie and Ben

My lovely friend Natalie got engaged over the Bank Holiday weekend. So I sat down and created this card to celebrate her new fiance status. This is using an old favourite stampset, Love You Much. The greeting is from Cheer and Wishes. The images are stamped onto Stampin' Up's gorgeous Shimmery White cardstock in Rose Red ink. I embellished the heart with the tiny basic pearls. The background hearts are clear embossed to give the card more texture and depth. The scrunched ribbon is the new Rose Red Seam Binding ribbon from the Stampin' Up! mini catalogue. The photo has come out a little dark (I was losing light). But I am super pleased with the result. Now off to get this in the post.......

Happy crafting ;0)
-X-

Friday, 11 February 2011

Less Is More Black White & Pink Challenge

Not sure what happened to this photo. The card has entirely straight edges but in taking the photo it now looks all distorted. Anyhow, this is my very first clean and simple card.  And actually, despite my penchant for over embellishing, I really enjoyed making a simple design and look forward to making more cards for this challenge, hosted by Mandi and Chrissie over on Less Is More. I did allow myself one bit of bling with the centre of the flower (a Stampin' Up! basic rhinestone). My colour combo is Basic Black, Whisper White and Melon Mambo and the stamp set is Love You Much.  I'm now off to work on my photography skills....


Happy Friday & Happy Crafting ;0)
-XX-

Monday, 22 November 2010

Congratulations Card

I met up with an old friend (she isnt old, but old friends as in we've known each other since we were 10) yesterday who has recently got engaged. So I spent the morning on making her a lovely congratulations card. I used the Love You Much stampset. I've had this one in my collection for a while and often forget what a lovely set this is. Perfect for an engagement card!

The colour hasnt shown up too well in the photo (I did make this card before the sun had risen yesterday so didnt get a chance to use naturally available daylight to take the pic) but its the new In Colour, Blushing Bride. I used the coloured inkpad for the heart and sentiment and then layered this with the matching cardstock and DSP. I then finished off with the Modern Label and Window Punch and half backed self-adhesive pearls.


Right, back to work and plodding on till 4pm when I can get home and start creating again ;0)

Happy crafting all ;0)

Monday, 7 June 2010

Crafting with Paige

Having spent a lovely day crafting with Paige I just had to share this gorgeous chipboard mini album I am working on. It took me a good 5 hours to cover and file all the pages and get it all ready to go. I started work on the front cover but was completely exhausted after the incredible amount of time it took me to get it all done. So it is very much still a work in progress. But i love the effect so far. And following Paige's advice I glazed the letters on the front when I got home and absolutely love the look of it (thank you Paige for the Cricut letters! I L.O.V.E. that machine!)

Also, (while not technically completed at Paiges, I did make it when I got home on the same day) I made this Congratulations card for my friend who just got engaged. Its along similar lines to the wedding card I made (I had the card already cut ready to go having used the same colour scheme the other night). I used the Love You Much Stamp Set with Pink Passion & Confetti White Cardstock, I also used two half pearls from the Pretties kit and Platinum Shimmer Paint with a sponge dauber.

Friday, 4 June 2010

Two cards I made last night

I bought myself a few little bits from SU last week and wanted to try them out. So last night i set about making two cards. One was for my lovely friend Francesca who celebrates her 30th today (its OK that the card wont arrive in time- she is currently celebrating the big 3-0 in Sydney having spent the last week doing exciting things like swimming with whale sharks- lucky old thing).

Anyways, I designed this 30 card using: Pink Passion & Green Galore Cardstock, Melon Mambo Polka Dotted Ribbon, Sweet Treat Cup, Cheers To You Stamp Set, Cheer & Wishes Greeting, Cheers To You Wheel, Circle and Star punches, Turquoise Grosgrain Ribbon, buckle fom the Hodgepodge Hardware kit and then finished off with various glitters and glitter pens. The finished card also has jelly beans filling the sweet treat cup (I was going to put a necklace in it as a gift card but the one I bought was far too big for the cup. So sweets it is with the necklace in the envelope!)


The second card is for an old school friend who is getting married tomorrow. Unfortunately I am unable to attend the ceremony but wanted to send my greetings all the same. For this I used Confetti White Paper over Pixie Pink, the Love You Much stamp set, two large
pink rhinestone brads from the Fire set, greeting from Cheer & Wishes and Platinum Shimmer Paint (with a sponge dauber).