Showing posts with label Gift Box Punch Board. Show all posts

Wednesday, 25 November 2015

A Cozy Christmas Quartet from Stampin' Up! UK Demonstrator Sarah Poulton

Earlier this month I hosted a Cozy Christmas product based class where I designed a series of projects to showcase this lovely Autumn Winter Catalogue stamp set.

I wanted to create a little set of Christmas notecards and envelopes with a matching box to keep them in. This is what I came up with.


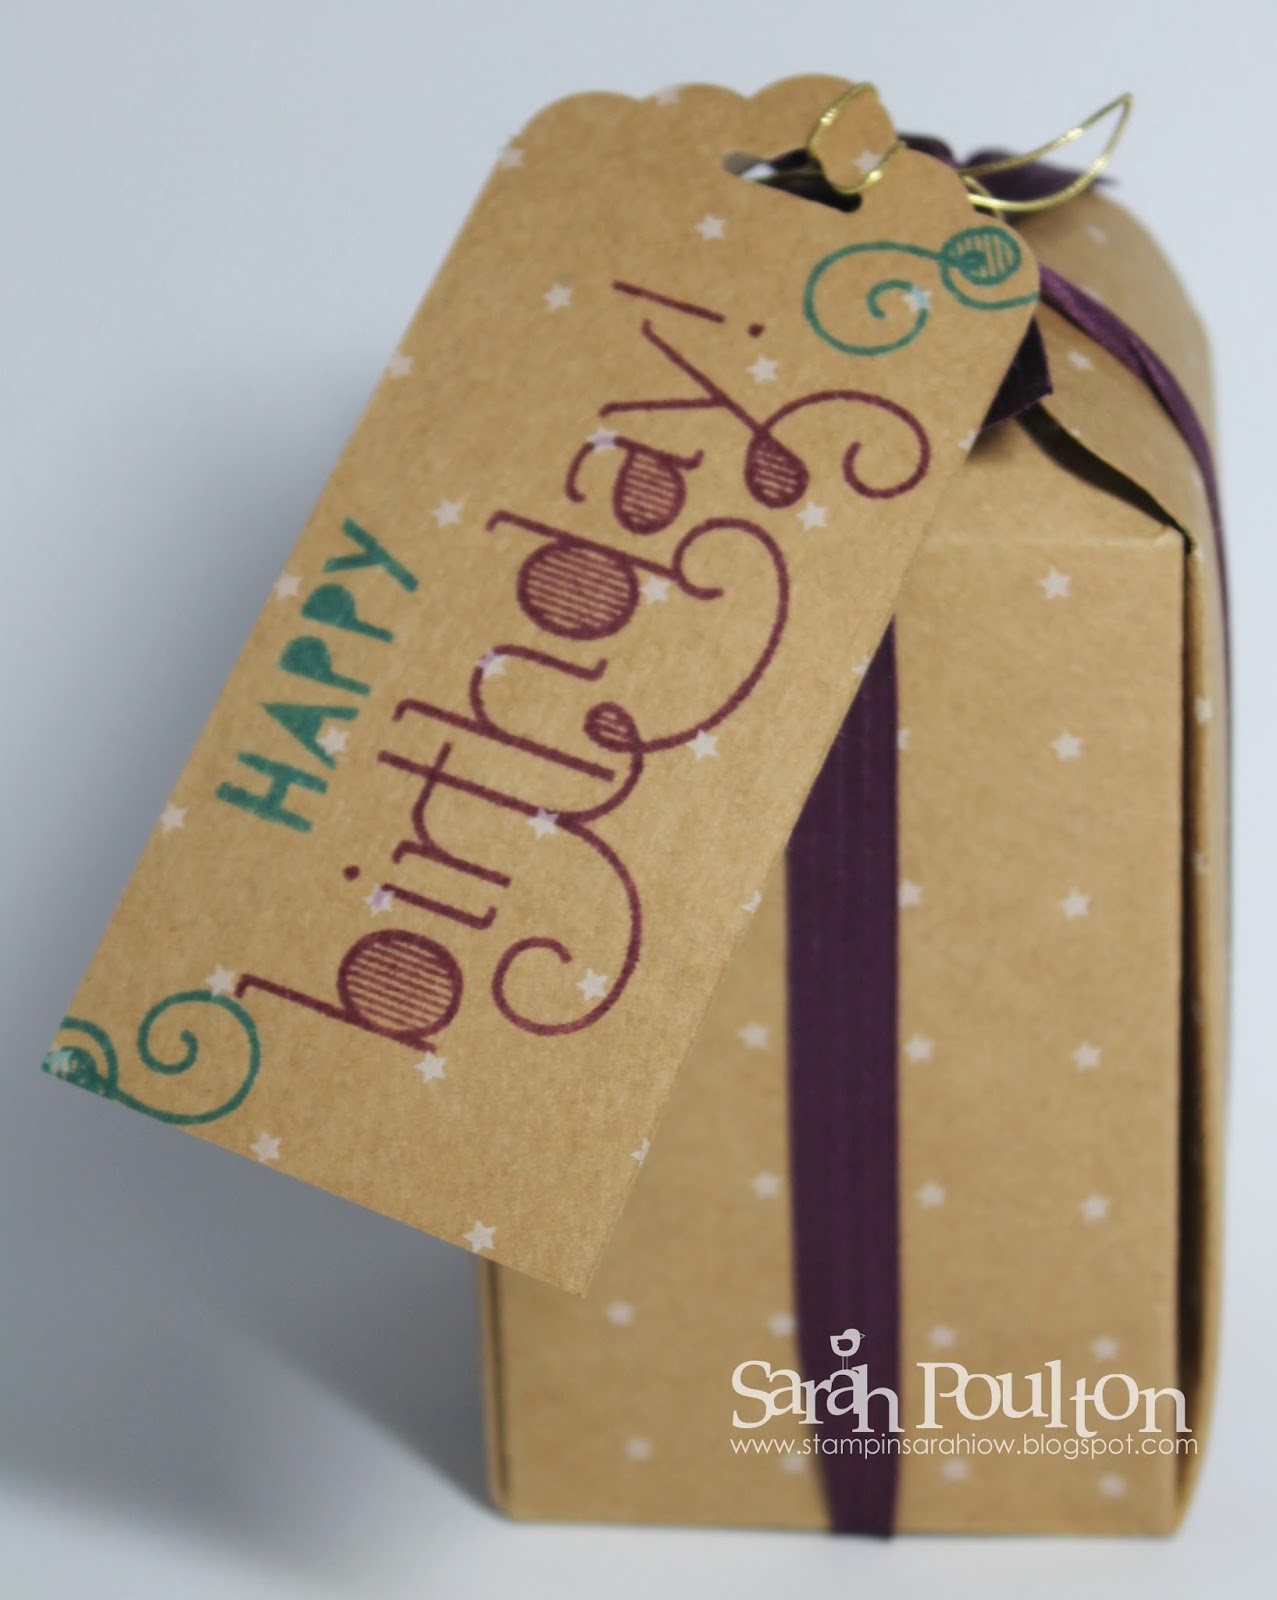
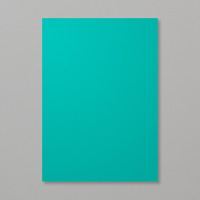
I started by designing the box which I made using my Gift Box Punch Board. I wanted the box to be 3.25" x 3.25"x 1.75" so I used an 8" x 8" square of Cherry Cobbler. I created the 3" square note card bases (uses 3"x6" piece of card scored at 3") with the offcuts of my 12"x12" cardstock used for the box.

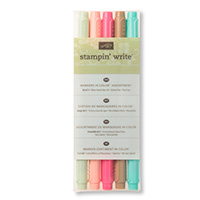
I then used small pieces of the Home for Christmas Designer Series Papers and my Stampin' Write Markers (and with an extra little bit of help from my Paper Snip Scissors) to create 4 little differently designed notecards.


I loved using the designs of the paper too embellish my cards. These little deers are just too lovely not to make the focus of a card. For this card I used my Home for Christmas Enamel Dots and Corner Trio Punch.


This is my favourite of this set of cards. I love the little cottage image and with the added Dazzling Details it felt very festive when making it. This is again embellished with the Trio Corner Punch and Rhinestones.


And lastly, here is the box I made to keep the cards and envelopes in (envelopes made with the Envelope Punch Board and Home for Christmas DSP).


Thank you for popping by today. Please let me know if you have any questions about Stampin' Up! or our products. I would love to help. All items can be purchased online via my shop or get in touch directly and I can order them for you to be delivered direct to your door. I'd also love to Demo for you and your friends at a crafty party. As the hostess you earn lots of lovely freebies and you all get to make a fun crafty project too (no crafting experience necessary!)

 -XXX-

Built for Free Using: My Stampin Blog

Monday, 4 May 2015

By the Tide Origami Shirt Card from Stampin' Up! UK Demonstrator Sarah Poulton

Good morning and a very Happy Bank Holiday Monday to you. I hope it is sunny wherever you are. It looks to be a lovely day outside here on the Isle of Wight.

We have had a busy weekend full of Birthday celebrations. Friday was my Dad's Birthday and we celebrated with a fun evening of family and chocolate & coffee cake (it was delightful!).

I wanted to share with you the origami shirt card I made for him. My Dad loves shirts with fish all over them so I decided to have a go at recreating one of his shirts using the By The Tide stamp set.


I used this Youtube video to make my base shirt shape (using Pistachio Pudding cardstock). I changed the measurements slightly by using a whole sheet of UK sized A4. I simply followed the same steps as shown in the video. Once I had the folds sorted I then stamped the By The Tide fish in Garden Green.

I hand cut the little pocket and daubered the edges to define the shape (I also added a bit of stitching detail by using my paper piercing tool to make little holes around the edge of the pocket). I finished with Neutrals Buttons (I had to use one extra to cover a slight stamping blip!).


The inside of the folded card looks like this. I used the Age Awareness birthday sentiment to stamp the inside.


To go with this card I created this stack of gift boxes using my Gift Box Punch Board. I created a large, medium and small box from Kraft cardstock which I then covered with Adventure Bound Designer Series Paper. Each box was filled with one of my Dads favourite treats. I tied the whole stack together with a length of ribbon from my stash.


And my Dad's main gift was this wood burnt chopping board. This was my first attempt at using my pyrography tool and I learned a lot about the type of wood that would work best for this kind of intricate design (this wood was very hard and the grain made it very difficult to get a smooth line). But I was still really pleased with it all the same ;0)


So a big thank you for popping by today. I hope you have had a fantastic bank holiday weekend. Please let me know if you have any questions about Stampin' Up! or our products. I would love to help. All items can be purchased online via my shop or get in touch directly and I can order them for you to be delivered direct to your door. I'd also love to Demo for you and your friends at a crafty party. As the hostess you earn lots of lovely freebies and you all get to make a fun crafty project too (no crafting experience necessary!)

 -XXX-


Built for Free Using: My Stampin Blog

Saturday, 3 January 2015

Pinkies Sale-a-Bration 2015 Blog Hop - A Big Day Magic Slider Card from Stampin' Up! UK Demonstrator Sarah Poulton


Thank you for joining us on another Pinkies Blog Hop! We're showcasing lots of gorgeous projects using new Stampin' Up!® products that you can earn free during Sale-a-Bration. Simply use the buttons at the end of each post to keep hopping!

Thank you for joining me today from Cobi's blog. You've hopped here to the Isle of Wight for my little corner of Sale-A-Bration creativity. Sale-A-Bration is my absolute favourite time of the Stampin' Up! year. Who doesn't love a freebie as a reward for buying gorgeous crafting products?

I chose to feature the Big Day stamp set (along with the ribbons/buttons from the Best Year Ever Accessory Pack which is another freebie you can earn during the Sale-A-Bration sales period). I created this magic slider card and matching gift box perfect for fitting in a little choccie or candle gift.


I used the colours of the Accessory pack as my theme- Crushed Curry, Calypso Coral and Coastal Cabana. 

I created my slider element by creating a 2" wide Whisper White tag with my Scallop Tag Topper Punch. I then created a matching layered tag using a Window Sheet to layer over the top. I stamped my cake and greeting on to the Whisper White tag using Memento Tuxedo Black Ink. I then used my Stamp-A-Ma-Jig to exactly match the base image over the top on the Window Sheet tag (thus giving the magic effect when you pull the tag from the card).


I coloured my Whisper White tag with my Blendabilities Markers in Coastal Cabana and Calypso Coral (don't forget you can also choose a colour set of Blendabilities as your Sale-A-Bration freebie if you want to start building your colouring collection).


And here is the little mini matching box I created using my Gift Box Punch Board. I used a 6" square piece of Crushed Curry cardstock which I then stamped with the matching Big Day stamps and coloured again with Blendabilities. I then tied with ribbons from the Best Year Ever Accessory Pack.


Thank you for joining me today for my little bit of Sale-A-Bration creativity. Hop on to Eveline's blog to continue the fun.

Please let me know if you have any questions about Stampin' Up! or our products. I would love to help. All items can be purchased online via my shop (you can click on the pictures below) or get in touch directly and I'll order them for you. You can get in touch on poulton_sarah@yahoo.co.uk or 01983 609249.

Happy Crafting 

-XXX-


Monday, 29 September 2014

A Trio of Birthday Celebration Makes

Good morning and welcome to a new crafty week. What a beautiful weekend we have had. The weather has been sunbathing warm (not that I have time for anything as luxurious as sunbathing with two littlies) and it still feels like the tail end of summer (despite what the shops may have us believe- they'd have you thinking Christmas was next week!)

This weekend we celebrated my sister's birthday with a fantastic lunch spread at my Mums house. It was such a lovely afternoon. And the celebrations continue today with a shopping trip over the water to Southampton. I am hoping to get a little sneaky Ikea trip in (although that place always manages to suck up 3 hours rather than the quick 20 minutes you expect).

My first crafty share this morning is the Birthday card I made for Natalie. After last weekend's Handmade Fair papercutting class I was inspired to give it a go at home. I bought a starter kit from Paper Panda and this was one of the designs in the kit. I hand cut the heart and then layered the design over Strawberry Slush cardstock and mounted on to a Bermuda Bay base.


I finished the design with some matching Strawberry Slush and Bermuda Bay hand drawn doodles around the outside of the white layer. I used my Stampin' Write markers for this. 

I find papercutting quite relaxing. I love cutting out all the intricate details. This is only my second attempt so I am pretty happy with how it turned out. And I always love mixing my crafts with Stampin' Up! to show just how versatile our products are.


The next make I created was this little decorative gift tag to accompany this lovely little jar of gorgeous Waitrose jelly cat sweets (if you haven't tried these I thoroughly recommend them, especially the Eton Mess flavour!). I used an offcut of Under the Tree Speciality DSP and stamped the greeting from the Age Awareness stamp set (stamped in Pumpkin Pie and Bermuda Bay). I finished with Brights Candy Dots and a length of Island Indigo Cotton Ribbon.


My final birhday creation is this gift box made with my favourite tool of the moment, the Gift Box Punch Board. I needed a box to hold 4 tubes of my sister's favourite sweets, Love Hearts. This box is the 2.5"x 2.5" x 4" box. It wasn't quite tall enough so I domed the top of the closure and secured with a length of Blackberry Bliss Satin Stitched Ribbon. I created the tag with the Scallop Tag Topper Punch and stamped with Island Indigo and Rich Razzleberry ink (using the Age Awareness stamp again). The body of the box uses the fantastic Under the Tree Speciality Papers (strong and lovely to stamp on).


Thank you for popping by today. If you have any questions about today's project or the products I have used, please get in touch on poulton_sarah@yahoo.co.uk or 01983 609249. You can order online direct through my store by clicking the product links above or the pictures below. I also have availability in the next few months for your very own crafty party. Click on the Promotions tab above to see the exclusive hostess promotion running until October 31st.

Happy Crafting
-X-

Wednesday, 10 September 2014

Crafty Party Thank You Gift: Stampin' Up! Gift Box Punch Board Make

Happy Wednesday Crafters.

How is your week going so far? It is a downward slide to the weekend now. Which can only mean more time for craftiness ;0)

As I mentioned on Monday, I have gone a bit Gift Box crazy. I recently purchased the fantabulous Stampin' Up! Gift Box Punch Board. I needed to make a thank you gift for a recent party hostess and thought this would be a perfect demonstration and gift all in one.


If you have already purchased the Envelope Punch Board then you will know just how simple these boards are to use. All the measurements and instructions are listed right on the Board and you just decide which size box you'd like to make, cut your paper/card to size and follow the instructions (all measurements are also listed on the board for your reference too).


The box above was the largest listed on the Board, It is made from a 12"x12" piece of cardstock (the Gift Box Board usefully has a score extending arm to make 12"x12" easier to score!). The finished box is 4" square. And the best thing about these boxes is that they are held together with little tabs punched by the board. There is no glue used to hold my large 4" box together (the ribbon is simply for decoration too!).

I created the box using the gorgeous new Under the Tree Speciality Designer Series Paper. I love these thick cardstock- weight Kraft sheets. Perfect for box making. It is Kraft/Gold Tone on one side with  Whisper White printed patterns and the other side of each 12"x12" is a Christmas themed design in Cherry Cobbler, Garden Green or Early Espresso.


I wrapped my box with Gold Satin Ribbon and a length of Cherry Cobbler ribbon (sadly now retired by the beautiful Cherry Cobbler 1" Sheer Linen Ribbon would be perfect too). I love the effect of tying two bows on top of one another. 

I created the tag using the Seasonally Scattered stamp set. I heat embossed the 'Thanks' stamp with Gold Embossing Powder on to Cherry Cobbler card stock and then cut with my Magnetic Platform and my Apothecary Accents Framelits. I punched a small hole in to the tag and attached with a third tiny bow using Cherry Cobbler Seam Binding Ribbon.

And while I was in a Gift Box making mood I made a mini gift box as the Door Prize for my recent party. This example is the smallest box on the Gift Box Punch Board- 1-3/4" square made from a 5" x 5" square of DSP.


I wrapped this box with a length of Blackberry Bliss Satin Stitched Ribbon and tied with a Autumn Wooden Element Leaf tied with Baker's Twine.

Don't forget to check out this week's new Weekly Deals by clicking on the picture below.


Thank you for popping by today and for sharing in my Gift Box creativity excitement. If you have any questions about today's project or the products I have used, please get in touch on poulton_sarah@yahoo.co.uk or 01983 609249. You can order online direct through my store by clicking the product links above or the pictures below. I also have availability in the next few months for your very own crafty party. Click on the Promotions tab above to see the exclusive hostess promotion running until October 31st.

Happy Crafting
-X-