Showing posts with label Make it Thursday. Show all posts

Thursday, 25 April 2013

Fancy Vintage Screen Card

 Good morning and welcome to Make it Thursday.
 
Today I am sharing two projects from our monthly card class. The card above was our Fancy Vintage Screen. I had seen a similar shaped card on Pinterest and decided to design my own version.

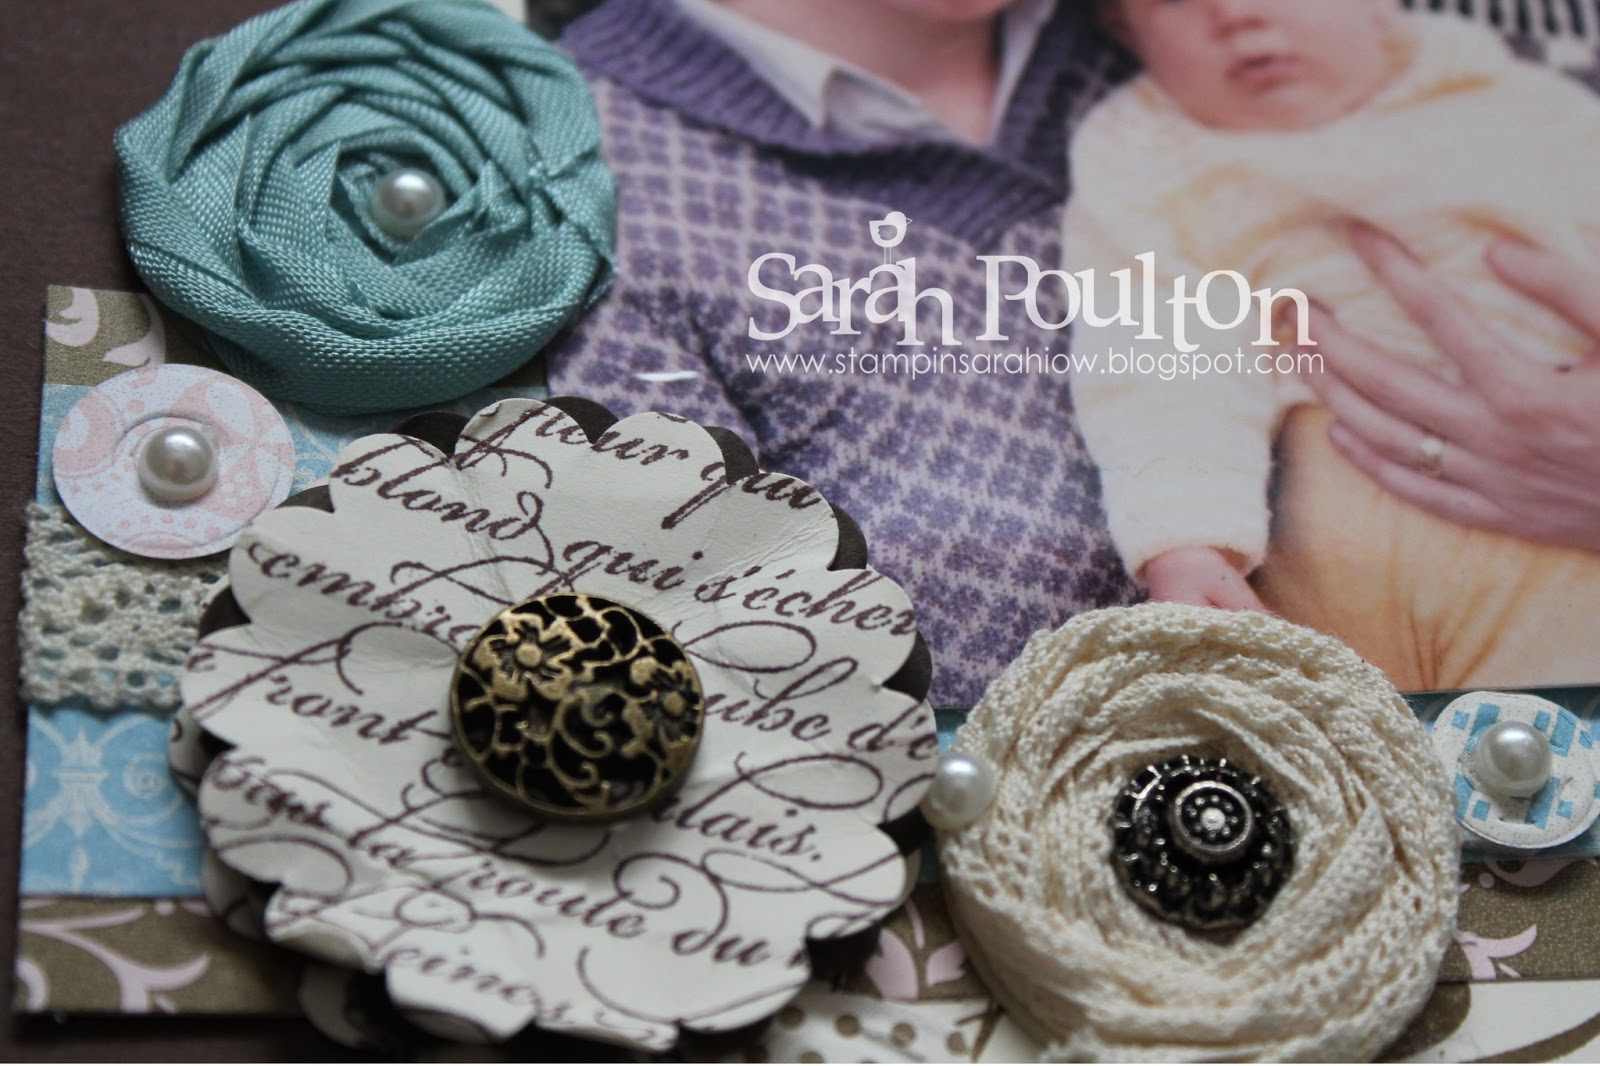
We used papers from the Tea for Two Designer Series Paper set as a stamping base (daubered around the edges with Soft Suede) and then stamped images from Elements of Style and Serene Silhouettes. We then coloured the floral image and punched butterflies using both the Elegant Butterfly & Bitty Butterfly Punches. We finished with basic pearls and floral trim. The screen shaping was created using the Decorative Label punch. If you only place your paper in to the punch half way and then punch you get the lovely shaped effect along the bottom.
Our second project (and my technique for the day) is this Vellum gift bag. I know my crafty ladies love using Vellum in their crafting and had previously loved the Vellum bags available in our previous seasonal catalogue. So I set about finding a gift bag tutorial that I could try using Vellum with. My tip for the day is to try replacing your usual cardstock or designer papers with a sheet of Vellum when making a gift bag to see the effect you will get. Vellum looks beautiful embossed (it goes white where the stress is placed on the Vellum when embossing). This works especially well with smaller bags like this. It would be perfect for party favours or to put brightly coloured chocolates in as a gift.

We finished our bag with an image stamped using Fine Feathers and a bitty button layered with matching cardstock.

Please get in touch if you would like any further information on Stampin' Up! and the beautiful products or to talk through joining Stampin' Up! as a Demonstrator. I also have upcoming dates available for parties if you'd like to earn some extra product freebies. Drop me a line on poulton_sarah@yahoo.co.uk or 01983 609249.
 
Thanks for popping by today and happy crafting ;0)
-X-

Friday, 19 April 2013

Stamping on tissue technique

Good afternoon all and welcome to the weekend.
 
I shared a project last month that my downline Hayley showed us how to make at our monthly shoebox swap. I fell in love with the stamping on tissue effect so decided to adapt her card for my swaps for an upcoming Stampin' Up! Regional event in Telford (one of the many perks of being a Stampin' Up! Demonstrator- meeting up and swapping ideas with other Demonstrators from around the country. If you fancy coming along too there is till time to sign up as a Demo and book your place on the event. Registration closes on Friday April 26th. Click here to order your Starter Kit and start your Stampin' Up!journey. Drop me a line and I'll happily chat through joining my team and getting started with Stampin' Up, or see the 'Join My Team' tab at the top of my blog).
So for this weeks Thursday technique (on a Friday) I am sharing how to create the crumpled tissue effect. I won't share my completed project just yet as the Telford event isn't for a couple of weeks and I don't want to ruin the surprise for all the Demos I might swap with. The component parts of my project are above.
 
I stamped the larger butterfly from Papillon Pot Pouri in Chocolate Chip on to a small piece of white tissue paper. Once the ink was completely dry I then screwed and crumpled the tissue up into a small ball. You then cover your piece of Newsprint DSP with Anywhere Glue Stick and flatten the tissue onto the DSP. I tried to centre each butterfly and you don't flatten it completely to give a textured and raised effect to your image.
 
Here is the finished tissue paper effect. You get a lovely crinkled faux suede effect. I finished my image with Soft Suede daubered round the image for an aged vintage effect. This image and technique puts me in mind of the old museum displays with mounted insects and butterflies.

I hope you enjoyed todays quick 'how to technique'. Pop back on May 11th and I'll share the completed project with you ;0)

If you would like any further information on Stampin' Up! or joining my expanding team, I would be only too happy to help. Get in touch on 01983 609249 or poulton_sarah@yahoo.co.uk to find out more.

Wishing you all sunshine and a lovely crafty weekend.
-X-

Thursday, 7 February 2013

Make it Thursday: Pop Up Posies

Good evening and apologies for the late post today. I returned to work this week and things have been a bit hectic. And to be honest the moment I get home all I have wanted to do is cuddle my beautiful daugher (it is proving a bit of an adjustment for both of us!) and so uploading todays project has been a bit delayed.
 
Today I am sharing the fantastic new Designer embellishment kit from the Spring Summer Catalogue, the Pop Up Posies. I absolutely love this kit and designed my Open House project (above) around its contents. The card uses the kit paired with Papillion Pot Pourri (the stamped butterfly) and the new Honeycomb embossing folder. I love the simplicity of these fab embellishments and how simple they are to construct (the flowers are simply layered up and secured with a brad and you are then free to scrunch and texture the layers to give added dimension).

The kit itself looks like this:
 
And it even comes with its own lovely matching stamp for stamping the tags. This is such a versatile kit and only costs £11.95 (131295) for 9 handmade tags/embellishments PLUS the 'Just For You' stamp too. And while it may look strange to see those mini cupcake wrappers in the kit- they make the most amazing little paper daisies (complete with yellow fabric covered brads for the centre).
 
I thoroughly recommend this kit as the Calypso Coral, Pool Party and Very Vanilla floral embellishments could be used to accessorize a scrapbook page or greeting card or simply used as the kit intends to make beautiful tags for gift wrap.
 
Thank you for popping by today. I would love to help you with any of your Stampin' Up! needs or orders. Please get in touch with any queries or to place an order to be entered in to my 'Win A Big Shot' competition.
 
I'll be back bright and early on Saturday morning for my part in the Pinkie team's Spring Summer celebratory Blog Hop.
 
Happy Crafting ;0)

Thursday, 31 January 2013

Make It Thursday: Stampin' Up! Fabric

Good morning and welcome to this weeks Make it Thursday embellishment idea.

I am feeling so inspired by all the new loveliness in the Spring Summer Catalogue that I am trying all sorts of new crafty techniques. I recently participated in a product share with my fellow team mates (another great bonus of being a Demonstrator!) and received a sample of the new Stampin' Up! pag fabrics. I had seen on Page 13 of the new Spring Summer Catalogue some lovely puffed and stuffed fabric hearts made with the More Amore Designer Fabric. I thought these would be a perfect embellishment to create.
 
Here are the tools I used for my puffed hearts (I also used thread- I had some Primrose Petals thread leftover from my Sweet Threads Simply Sent samples which I used). I used the heart framelit from the new Hearts a Flutter set of dies to cut two heart shapes with lovely scalloped edges. I then sew roughly around the edges with a backstitch to sew the two shapes together leaving a small gap to insert the stuffing. Once stuffed I then closed the hole and finished my complete puffed heart.
Here is the finished product. A puffy heart embellishment perfect for a card or scrapbook layout. A lovely added bit of dimension for any crafty project. 

If you pop back tomorrow I will be sharing with you the finished card I made using three of these puffed hearts and the beautiful More Amore Designer Series Paper. I am taking part in a Blog Hop to celebrate the launch of the new catalogue tomorrow so pop back for plenty of inspiration ;0)

And don't forget to check out
Sale-A-Bration and all the lovely freebies you can receive if you place a £45 order or host a Stampin' Up! party ;0) I am holding my Spring Summer Open House on Saturday between 10am and 3.30pm please pop by to find out more about Stampin' Up! and all the lovely new products (and pop back to hear about my BIG prize I am offering for all qualifying Stampin' Up! orders placed during Sale-A-Bration!).
 
Happy Crafting ;0)
-X-


Friday, 18 January 2013

Make It Thursday (a day late!)

Welcome to my first Make It Thursday (on a Friday!). I will be sharing techniques and ideas to make your own scrapbooking embellishments from Stampin' Up!'s fab products. Today's embellishment is a simple ribbon rose made from our crochet trim.

To start I used my Circles #2 Originals die (114526 £13.95) to cut a small circle from my double sided sticky sheet. For slightly larger embellishments Stampin' Up! have the perfect solution, ready cut Jumbo Sticky Rounds (127852- £4.50. These are pictured on the left and also perfect for making these exact embellishments). I also cut a length of the lovely Victoria Crochet Trim (118481- £6.25) which is perfect for making vintage style embellishments for vintage layouts or cards.
 I peeled back the top layer of sticky and created a point with my crochet trim which I stuck in the centre of the sticky circle.
 You can then begin creating your rose by twisting and sticking the ribbon around this central point. If you twist the ribbon as you go you get a nice textured and neat rose as you go.
 You continue to twist until you have the desired size ribbon rose (you can continue to the edge of your sticky circle, or trim the remaining sticky base once you have the size you want).
I continued right to the edge of my sticky circle and just snipped the remaining ribbon with my scissors and then tucked the end of the ribbon in to the side of the rose (ensure this is securely stuck to the sticky base or use a glue dot to make sure this doesn't come loose).
 To finish I used my Paper Piercing Tool (126189 - £3.50) to create a hole in the centre and pushed through an Antique Brad ( 117273 - £5.50)
 It is as simple as that and the beauty of using the Jumbo Sticky Rounds is that your embellishment can be peeled off and stuck straight to your desired project.

Here are two of these ribbon roses on a layout we completed in a recently scrapbooking class.


 And the finished page.

`
If you'd like any further information on our products or to order any of the mentioned products used please get in touch on poulton_sarah@yahoo.co.uk or 01983 609249. I place orders throughout the month or can place an order specifically for you for the postage cost of £4.95 (delivered direct to your door). Happy to help in any way I can.

If you would like to learn more about scrapbooking, I am holding my monthly class on Monday night (21st January) at 7pm. Get in touch for more info or to book your place.

Happy Scrappin'
-x-