Showing posts with label papercrafting. Show all posts

Sunday, 16 July 2017

A Beautiful You Hostess Club Gift from Stampin' Up! UK Demonstrator Sarah Poulton

Good morning crafters.

How is your month going? Have you been getting lots of lovely crafting done? I am busy getting projects ready for my big Christmas Crafting Day next month. It is only 9.40am and I've been busy with paper beads and shrink plastic. All to be revealed very soon. I still have a few places available for the day on August 19th. So if you live local to the Isle of Wight and fancy a fun day of Christmas making then get in touch on poulton_sarah@yahoo.co.uk.

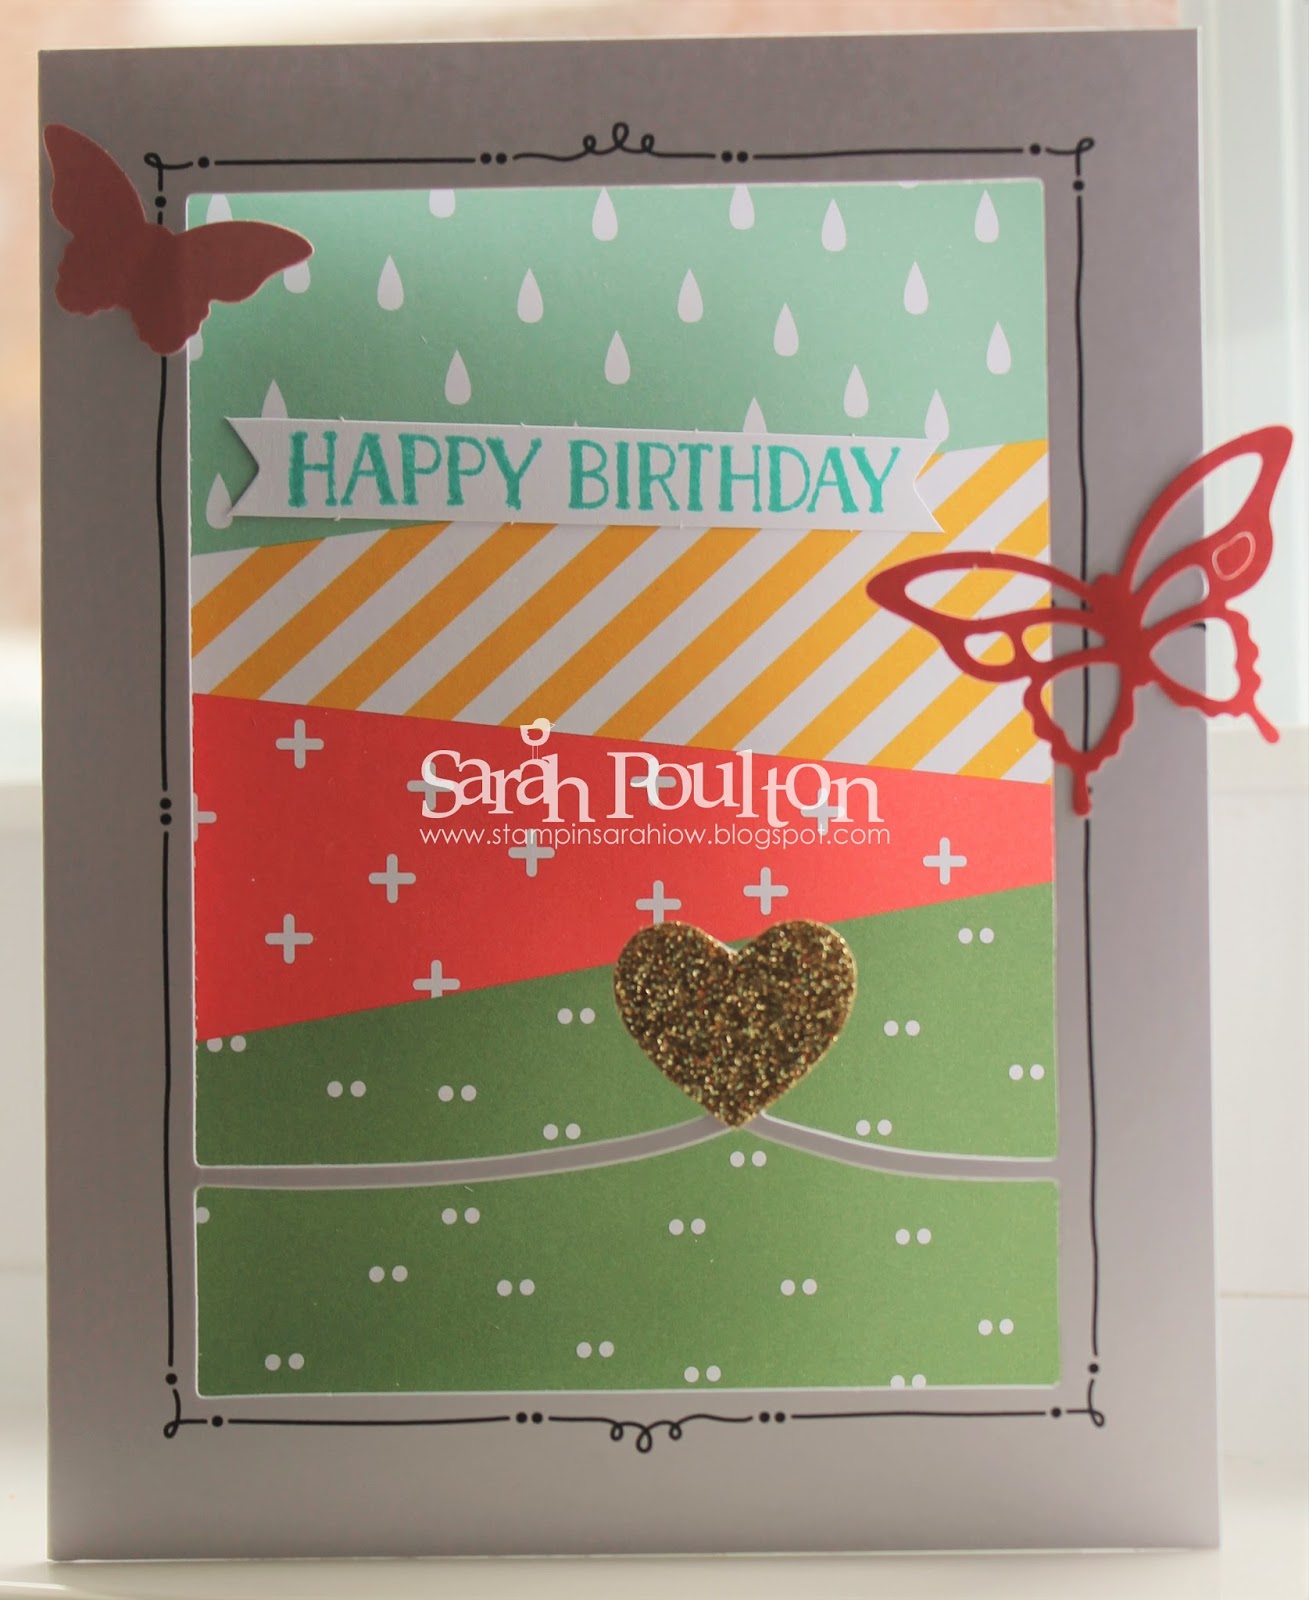
Today's crafty make is a project I made for my lovely Hostess Club ladies. I always like to make a little something to pop in the envelopes with the monthly orders so I am always on the lookout for new and interesting things I could make. I came across these fab little books of post in notes in Flying Tiger. I used the Beautiful You stamp set with paper pieced Designer Series Paper to create these cute little gifts.


Here is what each book contained. Lots of pages of different coloured and sized Post-Its.

If you'd like to join one of my Monthly Clubs I have spaces available. You get a handmade little extra each month as well as copies of catalogues and advance info on all upcoming specials from Stampin' Up! You just need to place a £15+ order each month for 10 months and one month you will be the hostess and receive the rewards for the months orders. It is a fun and easy way to build up your Stampin' Up! stash with lovely extras thrown in too. If you'd like more info please pop me  a line on poulton_sarah@yahoo.co.uk.

Please let me know if you have any questions about Stampin' Up! and their products. I would be happy to help. All items can be purchased online via my shop or get in touch directly and I can order them for you to be delivered direct to your door. I'd also love the opportunity to demonstrate for you and your friends at a crafty party. As the hostess you earn exclusive free products and all guests get to create a fun crafty project to take home too. No crafting experience necessary! Get in touch if you'd like any further information.

-XXX-

Saturday, 12 November 2016

A Joyful Christmas Card from Stampin' Up! UK Demonstrator Sarah Poulton

Good evening and a very Happy Saturday to you. What are your plans for the weekend? I have a stack of pre-cut card bases awaiting some ink and stamps to create my Christmas cards 2016. I have the design in mind. I just have to make the time to get the cards actually created ready for writing and sending.

Today's crafty share is another card class make from October. I love the simplicity of the Garden Green and Cherry Cobbler tones of this card. I used the Wonderful Year stamp set coloured with my Stampin' Write markers to give the two tone sentiment. I layered this over a piece of This Christmas Designer Series Paper.


I added a length of ribbon wrapped around the card and tied one of my all time favourite embellishments, the holly from the Christmas Trinkets.


This is a super simple stamped Christmas card. Easy to reproduce and the stamped sentiment is simply beautiful so doesn't need a lot of additional embellishment.

Please let me know if you have any questions about Stampin' Up! and their products. I would be happy to help. All items can be purchased online via my shop or get in touch directly and I can order them for you to be delivered direct to your door. I'd also love an opportunity to Demo for you and your friends at a crafty party.  As the hostess you earns exclusive free products and all guests get to create a fun crafty project to take home too! Get in touch if you'd like any further information.

-xxx-


Product List

Friday, 30 September 2016

A Jolly Friends Foldover Christmas Card from Stampin' Up! UK Demonstrator Sarah Poulton

Hello Crafters and very Happy Friday. Welcome to the weekend. What is on your agenda? I have a lovely class lined up tomorrow using the Forever Evergreen Christmas Trees Kit from the Autumn Winter catalogue. Should be a fun few hours. 

To celebrate the weekend I have a fun foldover card to share today. This is inspired by a make and take project we completed at my upline Michelle's team get together earlier this month. I knew with a few tweaks it would be a perfect class project.

I used a Crumb Cake Card base with just one part embossed with the Cable Knit Embossing Folder.


The hole is punched with the 2" Circle Punch. A 2" Cherry Cobbler Circle was then adhered to the folded over flap to appear through the front hole. I added the little elf face and punched hat (with a jingle bell as a pom pom). The stamping was added using the Stitched With Cheer stamp set in Garden Green and Cherry Cobbler.


The inside of the card features the Stitched with Cheer banner and added stars and enamel shapes for colour and texture.


Thank you for popping by today. I'd love to see what you've been creating so please feel free to leave your blog details in the comments or drop me a line.

Please let me know if you have any questions about Stampin' Up! and their products. I would be happy to help.  All items can be purchased online via my shop or get in touch directly and I can order them for you to be delivered direct to your door. I'd also love to Demo for you and your friends at a crafty party. As the hostess you earn lots of lovely freebies and you all get to make a fun crafty project too!

Product List

Saturday, 13 February 2016

More Tin of Cards Creations from Stampin' Up! UK Demonstrator Sarah Poulton


Happy Saturday. I've woken to rain and cold outside. So what better way to spend your day then crafting and creating with friends. I have a lovely group of ladies spending the afternoon with the Tin of Cards Project Kit this afternoon. 

Today I am sharing the 4 cards I made with the lovely die cut heart swirly card base. This is my favourite of the 4 card bases as I love the swirly doodles around the die cut area.

Again I have mixed up each of the designs and mixed up the elements I used on each card.

This is the card I shared earlier in the week. This follows the kit instructions. 

I used one of the gold foil shutter elements behind the die cut area. I then embellished the heart with one of the epoxy gold hearts.


You can't really tell from the picture but the DSP is stuck to the inside of the card on this one giving a window effect.

This is my favourite of the four cards. I used the leftover piece of DSP from the organisation tabs inside the tin to create this card. I love the simplicity of the stripes and Mint Macaron. Plus I like to use as many of the elements as possible and I had a few of the white banners leftover at this point.


Don't forget it is still Sale-A-Bration (until the end of March). If you purchased the Tin of Cards Project Kit and coordinating stamp set plus a Snail Adhesive you'd be able to choose a Sale-A-Bration freebie as an extra. Who doesn't love a free crafty gift?


There are three ways to benefit during Sale-A-Bration.

Here’s the deal: for every 60 €/£45 you spend (before tax and shipping), you get a FREE Sale-A-Bration product. That means it’s the perfect time to purchase those products you’ve had your eye on while earning more products for free.


Note: Pages 4–15 of the Sale-A-Bration brochure show products available throughout the entire Sale-A-Bration sales period (5 January–31 March 2016); Pages 16–19 show limited-time products available only until 15 February.* Watch for another batch of limited-time products coming 16 February!
*Based on inventory, availability may be temporarily extended.


Need another excuse to get together with friends? Just host a qualifying party with at least 275 €/£200 in sales during Sale-A-Bration and you’ll earn 27 €/£20 more Stampin’ Rewards! You can even apply your Stampin’ Rewards toward a Starter Kit and become a demonstrator yourself!
It’s the best time of year to join Stampin’ Up! During Sale-A-Bration, you can become a demonstrator for just 129 €/£99 and choose 45 €/£30 more of FREE products for your Starter Kit. Plus, the kit ships for free. Click here to sign up direct and join my Inkin' Owls team.
 
Thank you for popping by today. Pop back on Monday for more Tin of Cards craftiness. Please let me know if you have any questions about Stampin' Up!, Sale-A-Bration or any of our new products. I would love to help. All items can be purchased online via my shop or get in touch directly and I can order them for you to be delivered direct to your door. I'd also love to Demo for you and your friends at a crafty party. As the hostess you earn lots of lovely freebies and you all get to make a fun crafty project too (no crafting experience necessary!).

-XXX-

Built for Free Using: My Stampin Blog

Monday, 10 August 2015

An Awesomely Artistic Scrapbook Page from Stampin' Up! UK Demonstrator Sarah Poulton

Good morning crafters.

Welcome to a new crafty week here at Stampin' Sarah HQ. It has been another busy weekend here on the Isle of Wight. I've been working hard getting the final projects prepped for next week's Christmas Craft Days as well as taking a break from cutting and sticking and sneaking off to Cowes yesterday for a few hours of Cowes Week boating fun (we indulged in a CBeebies show and an ice cream!).

I thought I would kick off a week of scrapbooking today. I have a whole series of Stampin' Up! inspired pages that I have been saving to share with you all.

Today's project is a great page to use with any size of photo. I know we all have oversized pictures lurking in our crafting stash. Whether it is professional pics from events or school pictures or just those oddly sized pictures we don't quite know what to do with. This sort of page is perfect as you can adapt the stamped frame to any size. Just stick your picture first and stamp second.


For this page I used a Very Vanilla card base. I layered my photo with Brushed Gold and Cherry Cobbler cardstock and glued this centrally.

I then used the Awesomely Artistic stamp set with Garden Green, Cherry Cobber, Crumb Cake and Encore Gold ink. I created these corner frames by layering the images over one another. I love the ink splat stamp as when I try to create actual splats I always get in a mess.

To finish I stamped flowers from the Petite Petals stamp set and punched with the matching punch. I stamped a gold dragonfly on to Vellum and embellished with Basic Pearls. I then added a bit of glitz and sparkle with Brights Sequins and Basic Pearls.


I have loved getting my scrapbooking head back on. I forget how much I enjoy traditional 12"x12" scrapping. Pop back on Wednesday for another scrappy share.

Thank you for popping by today. Please let me know if you have any questions about Stampin' Up! or our products. I would love to help. All items can be purchased online via my shop or get in touch directly and I can order them for you to be delivered direct to your door. I'd also love to Demo for you and your friends at a crafty party. As the hostess you earn lots of lovely freebies and you all get to make a fun crafty project too (no crafting experience necessary!)

 -XXX-
Built for Free Using: My Stampin Blog