Saturday, 30 July 2011

Christmas in August Craft Day

This post will stay at the top of my blog until the end of July. Please scroll down for latest blog posts.


Christmas in August Craft Day

Saturday August 20th 10.30am-4pm

Spaces are limited so book early to secure your spot. Last date for booking is July 30th and I will need to receive payment (cash or cheque) by that date to ensure enough provisions are ordered for the day.

Further information:

  •  Projects for the day include a Christmas Tri-Shutter mini album and a papercraft Christmas tree
  • £15 to include all materials and light refreshments (tea/coffee/cake)
  • On the day ordering specials including a free prize draw for the hostess benefits for the days orders, free P&P and the choice of a free pack of pearls/rhinestones/ink pad for orders over £30.
 Please bring along a packed lunch and your own glue/tape for the days crafting.

I am also running a special Christmas card class evening on Wednesday August 17th (7-9.45pm, £8).

Friday, 29 July 2011

Christmas Spinning Card

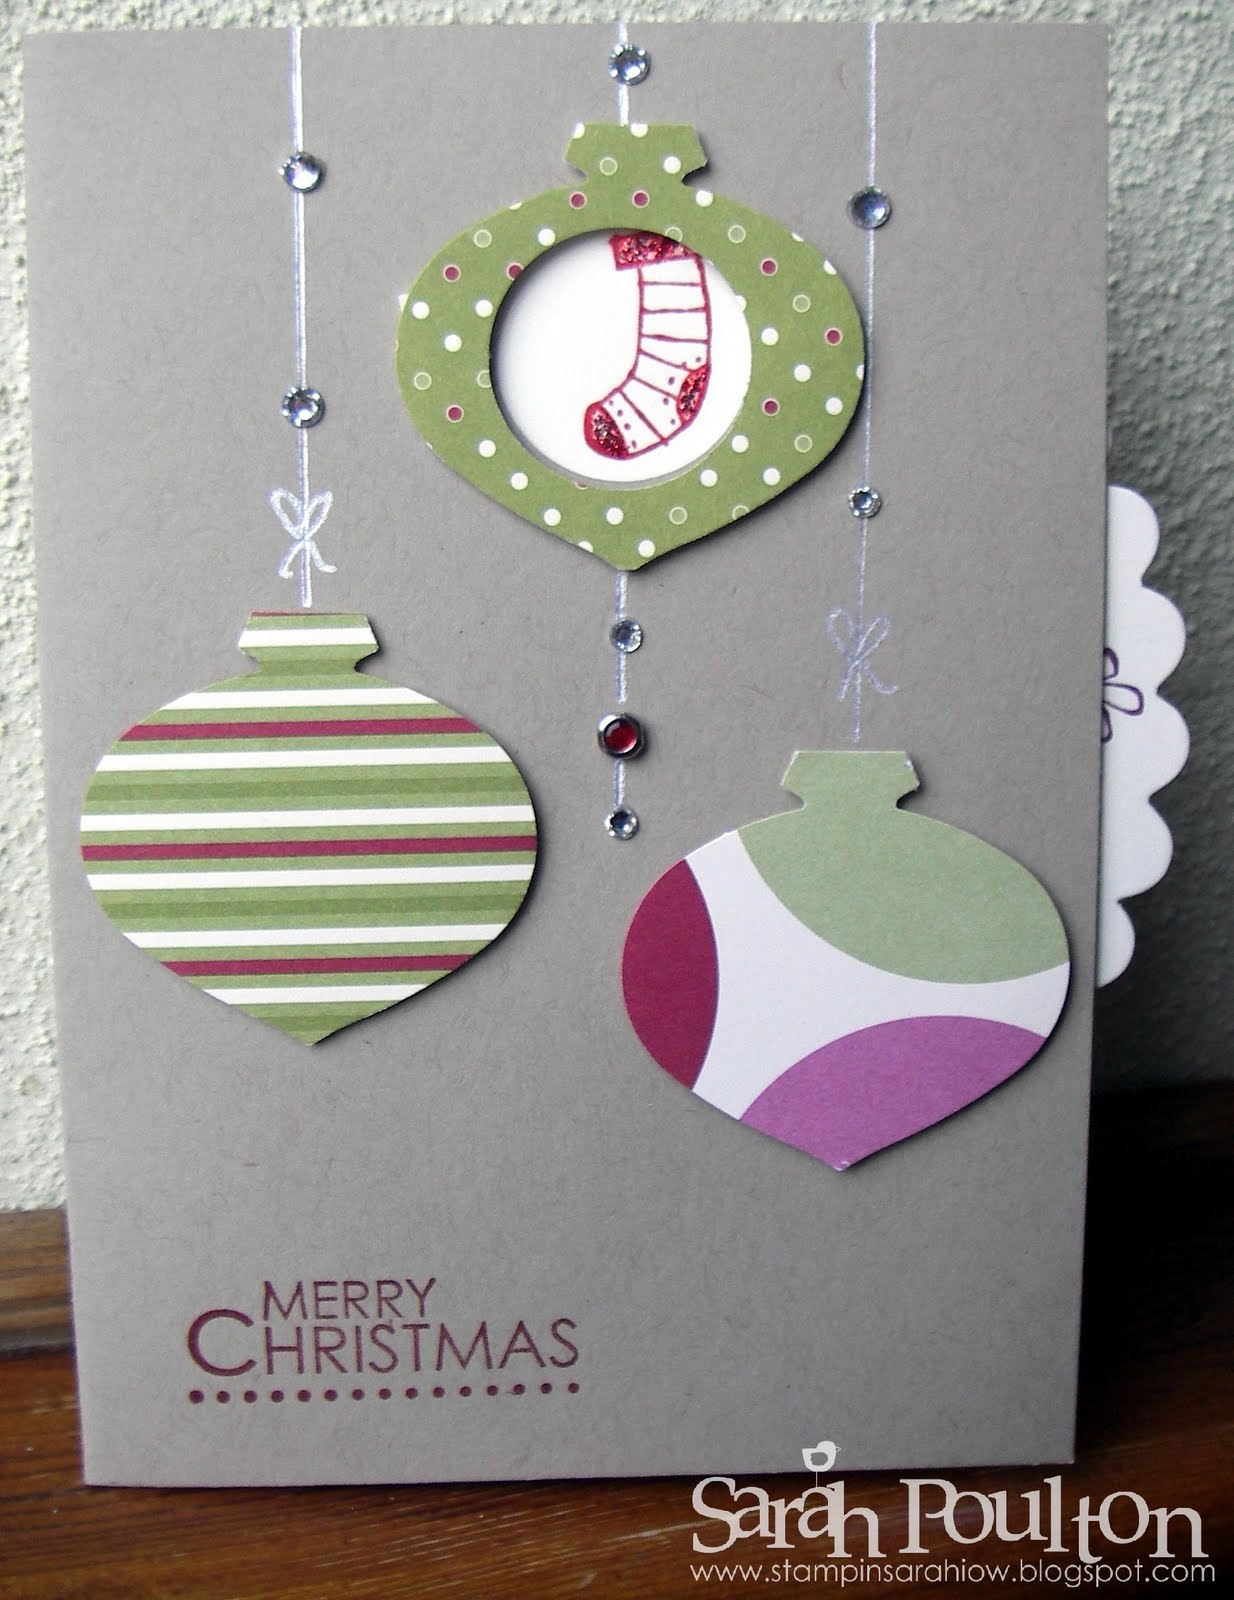
I recently saw this card over on Peg's blog. I'd never seen this spinning style of card before so thought I would have a go for this months card class. Its never too early to think Christmas you know ;0)

I created this spinning wheel card using the Scallop Circle Die for the Big Shot, the Ornament and 1 Inch Circle Punches, Jolly Holiday Designer Series Paper and Every Little Bit Stamp Set. I embellished with Basic Rhinestones, a brad & a silver pen from my crafting stash.

I was surprised by how much everyone loved the effect of this card and it could easily be adapted for any occasion. I thought it would make a lovely new baby card with the little images.

The photos below show each of the images in the ornament window.

The mini Penguin:
 Snowflake:
 Stocking:
 Present:
 Gold Star:
Cardstock: Crumb Cake
Designer Series Paper: Jolly Holiday
Stamp Sets: Season of Joy (Sentiment) and Every Little Bit
Ink: Cherry Cobber, Daffodil Delight, Rich Razzleberry, Basic Black, Real Red, Night of Navy
Embellishments: Brad, Basic Rhinestones
Other: 1" Circle Punch, Ornament Punch, Dimensionals

Monday, 25 July 2011

Explore Week One


So here we go. I finally got my act together to photograph and finalise weeks ones prompt creativity for Shimelle's class 'Explore'. This class has been brilliant so far and each prompt is pretty workable by how much time you have in the day. By creating your own little playbook on Day 1 you have a portable little notebook for jotting down things about the day or sticking prompt related photos in. I have been using images a lot more in this class than journalling. But I am creatively challenging myself to not be such a perfectionist.

Perfectionism in my scrapbooking (and crafting generally) is something I struggle with regularly and I can often lose my mojo for weeks on end over a perfectionist paddy I have thrown (its not always pretty!! My poor old craft room looks so sad and dejected after I've thrown one!!). But this class so far is making me challenge my own notions of the creative journey. And I think I might be growing as a crafter as todays LO (last photo) is one I'm really not happy with. But I am going to proudly place it in my album and not beat myself up that it didnt go quite to plan.....

My 'Explore' playbook.

I kept this super simple with 6x4 chipboard cover and back covered in favourite paper scraps. I embellished with a few stickers and my trusty dictionary.

Prompt 1: A self portrait.

I wasn't at all happy with this picture till I started playing around with effects. I much preferred it in black and white/tinted.
Prompt Two: Postcard & Adventure

I journalled on the back of this Australian postcard about my definition of adventure.
Prompt 3: Scraps of maps

This prompt was about making circle embellishments and using maps. I went to the local charity shops and looked for old city guides and maps. I found an old road map really cheap and an old New York guide so I played with making embellishments and circles out of places that I love (New York, Isle of Wight- obviously, and Hawaii). I was trying to represent my lifes adventures through maps.
Prompt Four: Perfection

Rather than journal about perfection I simply stuck in one of my favourite spring time photos from this year. I took this is my Mum's garden of the apple tree. I also wrote out the 'perfection' quote from the prompt at the top of the page as a reminder to not get too caught up in my own issues with perfection.

And finally, Friday's creative project prompt was about using 9 circular embellishments on a main LO. I chose two pictures from my year in New York and I tore lots of pages from the old guide book I found. I created this page using bits and bobs and scraps that I found. I have actually changed it a bit since i photographed it to give a blue skyline behind the chipboard buildings to make them stand out a bit more. I think it ended up too busy. But like I said before, it is part of the process, so it is staying in my album all the same. I made all the circular embellishments out of buttons, maps, a subway map, my old dictionary, brads and photos. I created a mini collage of NY images.  My favourite element is the subway map title cut using my Cricut.
Thank you for reading this rather long winded post. I'll try not to blog a weeks worth of prompts at a time from now on......

Happy crafting ;0)

Friday, 22 July 2011

A Friday Make

It has been a really slow crafting week this week. I have finally started work on my travel album from an Australian trip I took with my partner Sam in 2009. I have had a half completed album for 2 years now and I wasnt happy with the pages i had completed. So I bought myself some new neutral cardstock and I am starting from scratch. I also designed an Australian cross stitch sampler for the front cover of the scrapbook which has also been half completed. So I am now working on finishing that too. So while I havent had projects to share I have been working on things in the background.

This evening I wanted to create something but lacked inspiration. So I did a bit of blog hopping and came across a beautiful card over on my Stampin' Up! friend Vicky's blog. I decided to have a go and make my own version (which is very similar to her version in all honesty. I had to adapt certain elements to match the stamp sets I own). I am so pleased with this card. Such a beautiful idea and I have now learned a new technique (my first attempt at sponging the background).

For this card I used:
Cardstock: Whisper White
Ink: Pear Pizzazz and Baja Breeze for the sponged background & Rich Razzleberry for the flowers and greeting.
Stamp sets: Flight of the Butterfly (small flower), Simply Said (flower stems), Nature Walk (Bee)
Other elements: Vellum (for the bee), Post its for masking.

Happy Weekend all ;0)
-X-

Tuesday, 19 July 2011

New Baby Card for a Tuesday Morning

Morning all,

Sorry for the lack of blogging. I have been busy busy busy over the weekend. Although I dont seem to have a lot to show for it. I've just signed up for a new class over at Shimelle.com called Explore so I spent yesterday having some fun creating my Playbook and taking some self portraits (I will share more on my makings in a different post I think). I'm so far really enjoying being part of an online class again.


Right back to todays makings. My lovely friend Saberina had her first baby last week. I am so excited for her so sat down and made her a congratulatory 'New Baby' card.

I themed it all around shades of green. I used Wild Wasabi (card blank), Old Olive (Ink and punched circle), Garden Green (Scallop circle) and Pear Pizzazz (main colour run through the Big Shot with my polka dots embossing folder + poly ribbon) with a bit of Whisper White for highlighting.
I stamped the baby image using All in the Family and 'Kaiden' using the Jumble alphabet. Unfortunately Stampin' Up! couldn't help me with the miniature numbers for Kaiden's birthdate so I had to raid my scrapbooking stash for those little numbers. I accented the whole card with three Itty Bitty Heart Buttons glued onto Wild Wasabi Hearts and two little Basic Pearls between the date numbers.

Right, I'll be back asap with info on my 'Explore' makes. Happy crafting to you all.

-XXX-

Thursday, 14 July 2011

Harry Potter Scrapbooking

I received a Snapfish bundle of photos in the post yesterday and thought I would sit down and have a go at a layout. I'd seen this sketch and love the idea of a slightly skewiff design.I find it very hard to  not have straight lines and equal distances on my scrapbook pages. So this was almost a compromise. It still has my straight lines but they are angled?! 

My sister and I were in London last week at the same time as the Harry Potter premiere. It was crazy. There were thousands of people all around the streets of Trafalgar Square and Leicester Square, all hoping to catch a glimpse of the cast. We couldnt believe what a phenomenon Harry Potter is and what attention this final premiere had brought. I guess when you sit at home reading the books or watching the DVDs it is shared just between you and your family. You know you love them but dont realise just how many other people are out there loving them too. There was a real energy and excitement about the event, and even though we couldnt see a dickie bird we still wanted to stay.

To create the titles for this page I cut up the photos I had taken of the cinema and signs. They made perfect title additions to the page. And then I used the circles to capture little details of the event from the huge character banners to the crowds to the media circus. I embellished with my Stampin' Up! chipboard stars covered with Pumpkin Pie, Rose Red and Tempting Turquoise (I also daubered the edges in darker coloured inks). The printed word DSP in the background is from the Newspaper DSP paper pack. The base cardstock is Crumb Cake. Everything else is made up of bits and bobs from my stash drawer (I was surprised by the amount of lovely stars I managed to find) and papers from my odds and sods box.

Nearly the weekend. Happy Thursday crafting ;0)
-XXXX-

Wednesday, 13 July 2011

Less is More 'With Legs'

I thought I would have a go at this weeks Less is More challenge, a one layer card 'With Legs'. The moment I saw the weeks theme I thought of this stamp set, Aviary (sadly, while this is Stampin' Up! it is not currently available in our catalogue.This was a gift from an American counterpart).  I was actually thinking of the bird cage leg as opposed to the birds' (do I get extra points for having double the legs?) I have had this set in my stamp cupboard for months and never gotten around to using it. So I decided I would 1) use a brand new set and 2) try a new technique. Now heat embossing is my favourite of all crafting techniques, but until this card I had never tried masking part of the image. So I stamped my fancy yellow bird first then created a mask from a post it. I then lined up my bird cage with my Stamp-a-ma-Jig and stamped with Versamark. I then heat embossed over the bird in gold embossing powder.

OK so its quite a simple card. But I think I am getting my head around CAS slowly but surely. I couldnt resist the one little rhinestone to embellish the bird cage though. I love these challenges set by Mandi and Chrissie and I love challenging myself to go against the grain crafting wise (I still want to glitter and embellish everything).

So thats me 'LIM'd' for the week. Onwards to Saturday and a new challenge.....

Happy Crafting ;0)
-X-