Showing posts with label Stampin Scrapping. Show all posts

Tuesday, 5 February 2013

Try It Tuesday: A Very Jubilee Tea Party

Just a quick thank you to all who popped by my Open House on Saturday. Summer drew the prize for me and she picked the winner of the lovely Stampin' Up! product bundle as.... Angie Pay. Well done Angie and thank you again to all who popped by for a bit of Spring Summer craftiness.
 

Here is this weeks sketch inspired page. I found a sketch I wanted to try on Pinterest which is designed for a rectangular layout. I decided to use this sketch as my inspiration and resize it for 12x12.
My page focuses on our Jubilee celebration tea party last summer. I wanted to capture the details of the day (and all my sisters hard work in preparing the cakes and decorations!). I am not usually one for scrapbooking pages without people in. But I often see pages devoted to tv shows or films or things someone loves in the moment and I think they are brilliant. I often get caught up in only scrapping people but sometimes it is nice to capture the context too. I have previously scrapbooked the Jubilee weekend for Summer's album so it was nice to capture a different angle for my own album.
 
I would have liked to have incorporated flags or bunting onto my layout but decided anymore embellishment would have made it too busy. I love the simplistic embellishments made using the Rosette Bigz Die (created to fit with the red, white and blue theme). And if I am honest, I created the whole page to use my lovely new Paper Doilies and Tea Time Trinkets charms from the Spring Summer Catalogue.
 
Page uses:
Cardstock: Whisper White 12x12, Pacific Point & Red Glimmer Paper
DSP: Summer Smooches
Embellishments: Rosette Die, Brights Buttons, Paper Doilies & Tea Time Trinkets
Ribbon: Real Red 3.2mm Taffeta Ribbon, Midnight Muse 1cm Stitched Satin Ribbon
Other: Labels Collection Framelits
 
If you have any questions about my page, the products used or if you'd like to find out more about my current 'Win A Big Shot!' promotion, please get in touch on poulton_sarah@yahoo.co.uk or 01983 609249.
 
Thanks for popping by today and happy crafting
 
-XXX-

Friday, 18 January 2013

Make It Thursday (a day late!)

Welcome to my first Make It Thursday (on a Friday!). I will be sharing techniques and ideas to make your own scrapbooking embellishments from Stampin' Up!'s fab products. Today's embellishment is a simple ribbon rose made from our crochet trim.

To start I used my Circles #2 Originals die (114526 £13.95) to cut a small circle from my double sided sticky sheet. For slightly larger embellishments Stampin' Up! have the perfect solution, ready cut Jumbo Sticky Rounds (127852- £4.50. These are pictured on the left and also perfect for making these exact embellishments). I also cut a length of the lovely Victoria Crochet Trim (118481- £6.25) which is perfect for making vintage style embellishments for vintage layouts or cards.
 I peeled back the top layer of sticky and created a point with my crochet trim which I stuck in the centre of the sticky circle.
 You can then begin creating your rose by twisting and sticking the ribbon around this central point. If you twist the ribbon as you go you get a nice textured and neat rose as you go.
 You continue to twist until you have the desired size ribbon rose (you can continue to the edge of your sticky circle, or trim the remaining sticky base once you have the size you want).
I continued right to the edge of my sticky circle and just snipped the remaining ribbon with my scissors and then tucked the end of the ribbon in to the side of the rose (ensure this is securely stuck to the sticky base or use a glue dot to make sure this doesn't come loose).
 To finish I used my Paper Piercing Tool (126189 - £3.50) to create a hole in the centre and pushed through an Antique Brad ( 117273 - £5.50)
 It is as simple as that and the beauty of using the Jumbo Sticky Rounds is that your embellishment can be peeled off and stuck straight to your desired project.

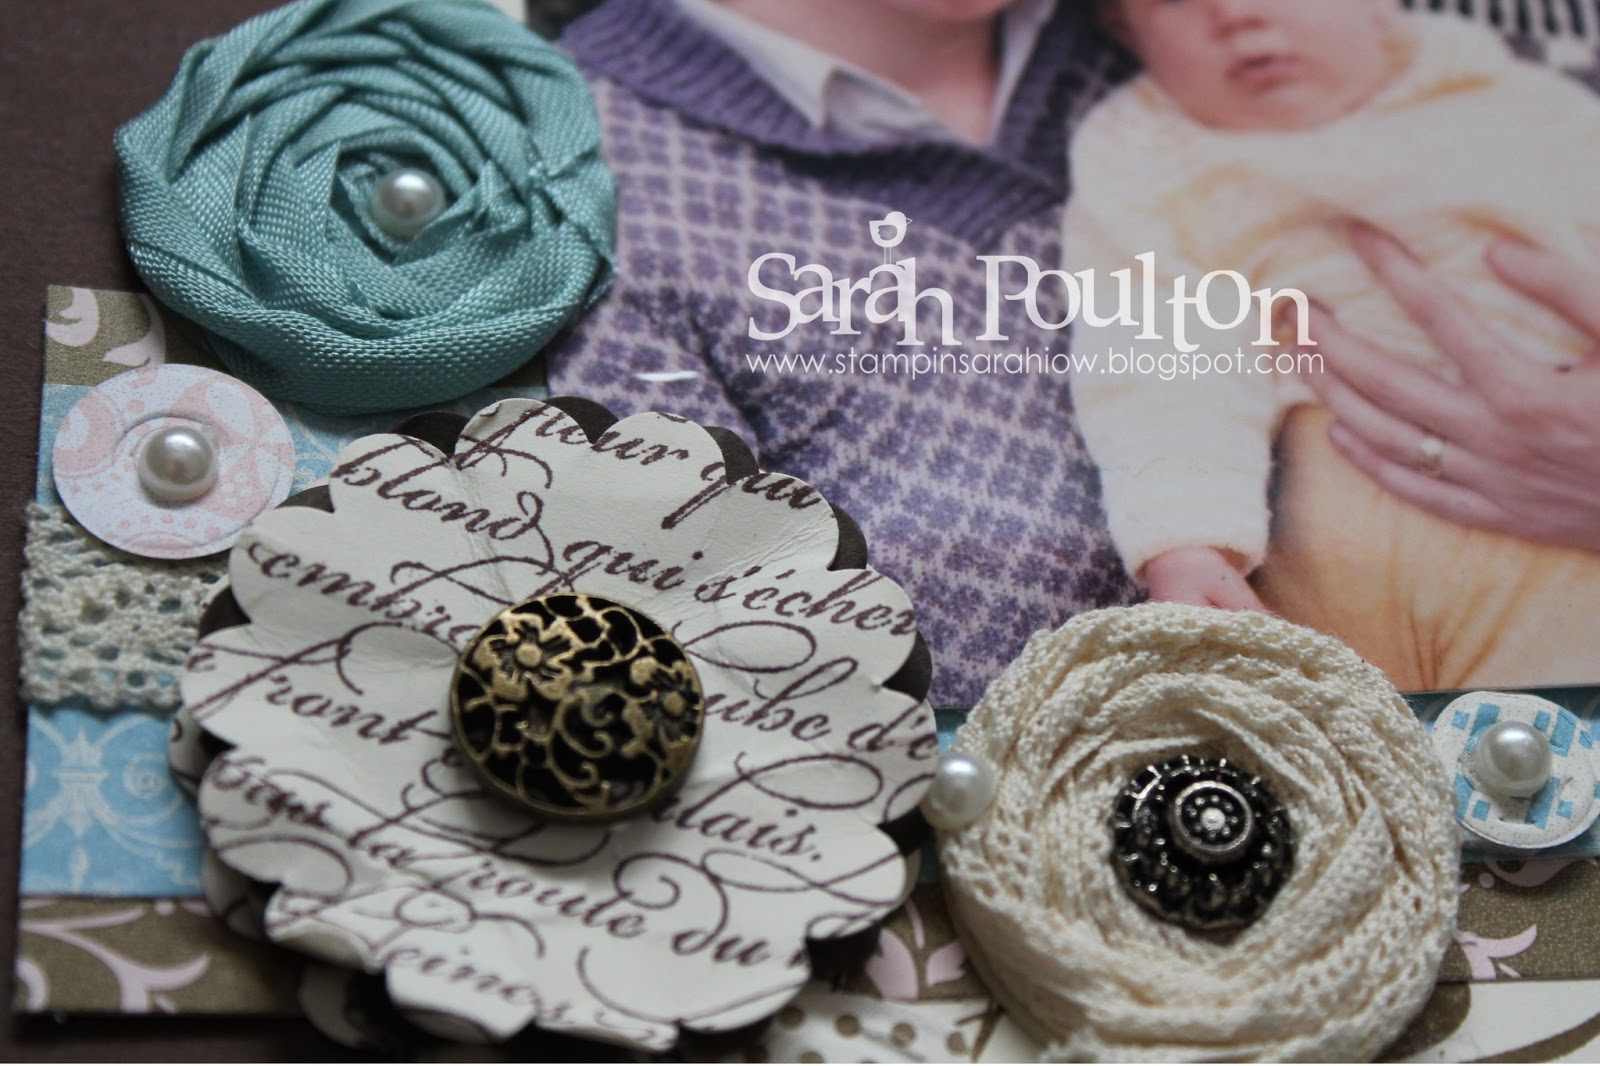
Here are two of these ribbon roses on a layout we completed in a recently scrapbooking class.


 And the finished page.

`
If you'd like any further information on our products or to order any of the mentioned products used please get in touch on poulton_sarah@yahoo.co.uk or 01983 609249. I place orders throughout the month or can place an order specifically for you for the postage cost of £4.95 (delivered direct to your door). Happy to help in any way I can.

If you would like to learn more about scrapbooking, I am holding my monthly class on Monday night (21st January) at 7pm. Get in touch for more info or to book your place.

Happy Scrappin'
-x-

Tuesday, 15 January 2013

A whole new bloggy outlook

Hello and good afternoon to all my crafty readers.

So here we are. The first day of my new blog. A new look and a new outlook. Just in time for all the exciting upcoming promotions with Stampin' Up! (I cannot wait for Sale-A-Bration to start next week! Woo hoo!)


After some careful thought and consideration I have decided to change the Stampin' Up! crafty focus of my blog to focus on scrapbooking with my family. I love all things papercrafty, but my heart belongs to scrapbooking. And especially scrapbooking my lovely little one, Summer. And with a pile of photos that I'm almost too afraid to admit to waiting to be scrapbooked I decided to rebrand Stampin' Sarah with a focus on layouts, embellishments and family photos.

I am often asked about scrapbooking and how to get started. A lot of people I speak to are often daunted by a 12"x12" blank page so in the following weeks and months I am going to share different ways to plan a page and create a beautiful layout, whether that be a colour combination starting point, a sketch challenge or doing justice to your extra special photos. Each Tuesday I will be sharing a layout I have created using Stampin' Up! papers, embellishments, stamps, die-cuts, ribbons (just about anything I can lay my hands on!). And each Thursday I will be sharing a technique for creating your own handmade embellishments for decorating your pages and giving step by step instructions. And in between whiles there will still be odd cardmaking and papercrafting tidbits from my papercrafting world.

I have had a sneak preview of the new Spring Summer catalogue and it is JAM PACKED full of beautiful embellishments and accessories for scrapbooking. Now is the perfect time to start your scrapbooking journey with Stampin' Up! and I would be more than happy to help you get started. I am offering a Monthly Scrapbooking Virtual Club to create special monthly pages (£15 per month + £2.50 postage to include everything you need to create 2 x 12"x12" layouts plus a few extras AND you will receive a free Stampin' Up! album in month 10 to store all your layouts in). I am also offering scrapbook specific workshops throughout the year, so if you book a party with me feel free to request a scrapbooking theme and I will give you and your friends an introduction to scrapbooking and creatively recording your memories.


But enough of the talking and small print. I will be posting more about those changes as and when it comes to it (although should you wish to sign up to my virtual club or book a scrapbooking party, please get in touch directly and we can chat some more on poulton_sarah@yahoo.co.uk or 01983 609249). Lets get on with some Tuesday inspiration scrapbooking.

At this time of year we all have Christmas-y photos on our cameras waiting to be printed. And what better excuse to get them printed than to get started with your scrapbooking journey. I usually use an online print company such as Photobox or Snapfish to print mine, or if I am in a rush to scrapbook something I pop to the instant print Kodak machine in Boots (these are brilliant as you can edit and crop the picture onscreen).

For my first Scrappy Try It Tuesday I decided to use one of the fabulous Simply Scrapping Kits from the Autumn Winter catalogue, Snowflake Season (£8.95 126921 Snowflake Season Simply Scrappin' Layout Kit). As an absolute beginner to scrapbooking these kits are perfect for getting you started as they contain 12"x12" cardstock, plus embellishments, and photos to follow to recreate the layouts. For a more experienced scrapbooker they are also a quick and easy way to scrap pictures with additional embellishments to allow your to change and personalise your pages.

Here is how the layout guidelines look:

And here is my take on the pages:

I used the basic page layout and changed the placement of embellishments to suit the orientation of my photos. I just love the miniature pegs to hang my photo to the ribbon clothesline. These kits contain exclusive papers, die cuts and embellishments, created especially for these scrapbooking pages. So you won't always see these extras included in the main catalogue. They are created with your special pictures in mind.

This kit is only available from the Autumn Winter catalogue until the end of January (last orders are to be placed by 1pm on January 31st) so get in touch asap if you'd like to order one for your Christmas photos.

Pop back on Thursday for the first of my Make It Thursday features and I hope you've enjoyed my new style blog today.

Happy Scrappin' 
-X-

Wednesday, 10 October 2012

A bit of Autumn scrapping

The theme for my September scrapbook class was Autumn. I love all the colours of this time of year and wanted to create pages that reflected  the changing of the season. I also love seasonal layouts as I can use a multitude of cheesey titles like Summer in Autumn, A very Summery Christmas etc... etc... When I sat down to plan September's class I was inspired by our new Autumn Winter Orchard Harvest papers and by this layout I'd seen on Pinterest.  I decided to give the LO a Stampin' Up! makeover and used the Orchard Harvest DSP as the basis for the colour scheme (I am still loving Raspberry Ripple a little too much in my current crafting).
 
I created the trunk of the tree using our new Early Espresso Coredinations cardstock which I embossed with the woodgrain folder and sanded with our new sanding system. The leaves I cut with our new die and embossed with various patterned folders. The flowers were mainly punched/stamped with the Boho Blossoms punch from the Orchard Harvest papers. The other flowers were taken from my stash. I created the pumpkins with my oval punches and Pumpkin Pie patterned papers.
 
This was such a fun page to make. I loved layering up dimensionals to create different layers and heights of all the embellishments. I always feel a certain level of pressure to 'do justice' to all the lovely photos I have of Summer and this page made me happy as it matched the picture perfectly.
 
Hope you are all having a lovely week and enjoying your mid week crafting. I'll be at Trouville Hall in Sandown on Sunday for the Crafty Islanders Craft Fayre. Please pop by and say hi. There will be a make and take and I'll be demonstrating too ;0)
 
-XX_
 

Friday, 3 August 2012

July Scrapbooking

Oops! I think I should have posted these last month as they used last months promotion items. I just found these photos on my SD card and I'd forgotten to share them with you.

These were the two layouts we completed at our July Scrapbooking class. They used the gorgeous Everyday Enchantment papers as their theme.

I'd seen a similar layout online which used the squares of patterned paper and I loved it so had a go at my own version here. We all enjoyed this LO as there was a lot of sponging and daubering round the edges which all my ladies enjoy doing.


Having completed the first layout (as lovely as it is) I realised we hadnt actually done any stamping yet. So had to make up for it on the 2nd LO. After all, the class is technically called 'Stampin' Scrappin'.

We used a retired Sale-A-Bration set for the background in Pool Party and Poppy Parade (all the Ps!). I found in my stash that i had the lovely repositionable clear scallop square die. What a find this was. I must have treated myself to it a while back and then forgotten about it. So I used it as a patterned background block on this LO. We finished with a lightly daubed flower made of two layered paper daisies.
Thank you for stopping by today and apologies for the slightly irrelevant post now that the promotion has ended. To see our current fab promotion please click here or see my promotions tab at the top. This months is not to be missed, a gorgeous free floral set, A Reason to Smile.

Happy Crafting ;0)
-X-

Wednesday, 11 July 2012

Scrapbooking Class Part 2


Stampin' Up! recently ran regional training days around the country. Unfortunately I could not attend my local training as I was 39 weeks pregnant at the time. However, after the events someone posted an instruction sheet for the scrapbooking make and take at the training day. I just LOVED the layout so had to have a go. Mine isn't exactly the same as those completed at the trainings as I didn't have all the same embellishments. But this is my version of the SU layout.

The base colours are Wild Wasabi and Baja Breeze and the designer papers are the Twitterpated papers from the Summer Mini catalogue. I embellished with the matching Twitterpated mini buttons and buttons from my subtles stash. The stamping in the background and on the floral embellishments used the Summer Mini set Mixed Bunch (and matching tone on tone ink pads).

I'll be back tomorrow with a recent workshop make and take. In the mean time, happy crafting ;0)
-X-


Tuesday, 10 July 2012

June Scrapbooking Part 1

Here is the first of the layouts we made at last month's scrapbooking class. Apologies for the slightly wonky photo- it looked fine until I cropped it but I've already put the page in my album so cannot re-photograph it!

I was going through my Stampin' Up! papers box and came across these lovely bright papers (sadly long retired) which matched the felt flowers (I found a full pack of these SU felt embellishments and thought they would be perfect for a scrapping class- also sadly retired now). So while a lot of the detail on this page are no longer available, I have decided to share this on here as this page shows off a lot of lovely new Stampin' Up! products.

I used the fab new edgelits dies from the Summer Mini to create the teal edging to the main patterned paper panel. I used the scallop ribbon border punch to create the teal photo edging. I used the fancy flower and 5 punch flower punches for the paper floral embellishments (finished off with a Pumpkin Pie flower brad). I also used a combination of current ribbons to create the parallel ribbon embellishments.

If you'd like to know any more about this layout or any of Stampin' Up!'s current offers or promotions, please get in touch directly on poulton_sarah@yahoo.co.uk or 01983 609249.

Happy Crafting
-x-

Wednesday, 18 April 2012

Sneak Peak Scrapbooking Part 2

Here is the second of our April scrapbook pages. Again this uses some sneak peak items from the Summer Mini including the Twitterpated Designer Fabric (cut using the Fun Flowers Bigz L Die to create the layered fabric flower embellishment), Bordering on Romance stamp set and the Blushing Bride Pleated Ribbon.

The colour scheme is Pear Pizzazz, Baja Breeze, Whisper White and Blushing Bride. I used  a large scallop circle template to create the Whisper White circle (which I cut out by hand) which we then stamped to create a matching self designed designer series paper.

If you'd like to find out more about any of these products or get hold of a copy of the Summer Mini, please get in touch on 01983 609249 or poulton_sarah@yahoo.co.uk. I'll happily help with any Stampin' Up! query ;0)

Happy Crafting ;0)

Monday, 16 April 2012

April Scrapbooking Sneak Peak 1

Another sneaky peak at some of the lovely new products from the Summer Mini Catalogue. This scrapbook page that I taught in my April scrapbooking class uses the Twitterpated Papers coupled with Apothecary Art and Bordering on Romance Stamp Sets. The embellishments are the beautiful new Pleated Satin Ribbons and Twitterpated Designer Buttons (these are lovely and petite and beautifully subtle). I love this springtime colour scheme and the subtlety of the colour theme. I also enjoyed trying out a new technique with the paper daisy. I inked this with a sponge using Blushing Bride ink and then sponged over Frost White Shimmer Paint to give a lovely glittery sheen. This made a perfectly matching embellishment.

Looking forward to being able to show you these new products in full come May 1st. I'm giving a little sneak peak now as I may be a little exhausted or preoccupied in very early May. But I will be back blogging asap.

Happy Crafting ;0)
XXX

Saturday, 17 March 2012

Sale-A-Bration Scrapbooking Part 2


As you can see the Sale-A-Bration papers and stamps have been a big motif in my crafting recently. And upon digging out my bird punch I have been enjoying using the bird as an embellishment on my layouts too.

Again this uses Peach Parfait, Lucky Limeade, Calypso Coral and Pool Party as the theme colours matched with the Everyday Enchantment papers. The stamps used for the background are the Sale-A-Bration Fresh Vintage stamps.

I've been meaning to create a layout with a bunting embellishment on for months and just never gotten around to it. I love the effect of this free falling bunting on the layout. And it went down well with my class ladies too (although it was a little bit fiddly to get the flags to stick to the linen thread)

If you would like to order any of these exclusive Sale-A-Bration products please get in touch directly as Sale-A-Bration only runs till March 31st and then these products will be retired for good. Take this opportunity to get hold of a free stamp set of pack of paper with a £45 order by either calling or emailing me on 01983 609249 or poulton_sarah@yahoo.co.uk.

 Thanks for stopping by today and happy Saturday crafting to all ;0)
-X- 

Friday, 16 March 2012

Sale-A-Bration Scrapbooking


Here is the first of our Stampin' Scrappin' layouts for this month.  I used the current In Colours and the Sale-A-Bration Everyday Enchantment papers as my inspiration. I love how the Aviary stamped images and the punched bird match the tiny birds incorporated in the paper design.

The more colourful the layout the more I love it. So this months class was fun for me to design as it used so many big bright colours: Lucky Limeade, Pool Party, Calypso Coral &  Peach Parfait. The page was embellished with a few basic pearls and a strip of Daffodil Delight ribbon.

I'll share the second layout tomorrow. In the mean time, happy crafting to all ;0)
-X-

Monday, 13 February 2012

Second scrapbook layout

Here is the second of this month's scrapbook class layouts:
Again this is centred around the gorgeous Spice Cake Designer Series Paper.  I used a sketch I found online to create this page using 2 inch squares taken from each of the DSP designs. I added a rosette made from Chocolate Chip and More Mustard cardstock with a giant More Mustard button to finish. The photo is appropriately of a table full of cakes at my friends wedding (all her family cooked a cake instead of one big wedding cake). I loved that the cakes matched the colours of the DSP.

This is a very simple but effective page which utilises all of the designs from the Spice Cake papers. It could easily be adapted to match any of the paper sets in the catalogue.

Thank you for stopping by today and I hope you'll pop back later in the week to see a lovely card I designed for a workshop I'm demo-ing for on Wednesday.

Happy crafting ;0)
-X-

Tuesday, 17 January 2012

2nd LO for this weeks scrapbooking class

So yesterdays layout got me to thinking about scrapbooking winter and trying to think outside the box colourwise. I had a flick through my ever growing 'to be scrapped' photo box and found these two snow pictures that I took the Christmas before last. I thought these would be a perfect starting point for a winter LO.   I then decided to mount a previously unused and brand new stampset, Creative Elements, which I received in my convention bag last year. I had seen a similar flourish used on a winter layout in a magazine and thought the contrasting Riding Hood Red and Whisper White worked well together.

The technique for this layout is the use of stamping on the paper daisies. A beautiful (and always matching) technique I have seen used on a lot of card and scrapbooking projects and perfect for this Crumb Cake, Riding Hood Red and Soft Suede themed page. Sadly the designer papers I used are now retired but they give a lovely contrast to the usual winter colour schemes.

I would also just like to point out that there is a rogue piece of scrap paper in the photo above. The lower left hand corner 'corner flourish' was actually discarded but somehow made it into the picture anyways.

I'm really looking forward to teaching this class on Thursday now and maybe even sitting and getting through some more of my 'to be scrapped' photos at the weekend too ;0)

Thanks for stopping by today and happy crafting ;0)
-X-

Monday, 16 January 2012

A new scrapbook class LO

My apologies for the somewhat haphazard photo of my latest scrapbook class layout (the red spots are my table cloth and not a part of the layout). I hadn't intended to post this picture. I had quickly snapped the LO to send a pic to my Mum so she knew which photos to bring for this Thursdays class. But then in a moment of inspiration (and in celebration of me finally getting a bit of papercrafting mojo back) I decided to quickly update my blog with a new photo.

Apologies it has taken me so long to update and resume normal Stampin' Up! service. I have been somewhat exhausted these first couple of New Year weeks. I think my little one has had a hefty growth spurt (and judging by the kicking she is going to be some kind of martial arts come kickboxing prodigy) which has taken it out of me a bit. But this evening I cleared a path into my craft room (I'd thrown all my Christmas journalling bits into the room and shut the door to deal with on another day!) and more specifically to my desk, I plugged in my computer and put on my new Big Bang Theory DVD boxset and I was away. And here is what I created:

My scrapbooking class ladies had asked for a winter theme so I flicked through a few scrapbooking books for inspiration and came across a LO that used the large scallop papers as a background. I loved the effect so set about using that as my inspiration. I drew myself a template onto Real Red cardstock and then a smaller one to use on the Patterned Designer Series Paper. I stamped the background with Serene Snowflakes (I'm so glad I've got to carry use of this stamp set over in to the New Year- it is still a much used favourite). I created the central dividing line using strips of paper from the Hostess Papers Cheerful Treat and Concord Crush Stitched Poly Ribbon. I then finished with the title stamped onto a top note and embellished with subtles buttons and glitter brads (and a few rhinestones for effect).

It may look simple yet this has taken me hours!! But hooray I finally got my papercrafting groove back. Check back tomorrow hopefully and I'll have the second LO for Thursdays class posted ;0)

Happy Crafting ;0)
-x-

Tuesday, 30 August 2011

Circle Circus Scrapbook Layout 2


Back to work today! If only every day was a bank holiday ;0) Still its a 4 day working week which is always something to smile about ;0)

So here is the second of this months Circle Circus scrapbook pages. I was inspired by the Blueberry Crisp Designer Series Papers for this layout. It just happened that the photos I picked out also matched the colours perfectly.

I started by creating the lined base layers of DSP and creating the border using the Scallop Trim punch and Night of Navy cardstock. I then ran a length of Concord Crush stitched ribbon down the left hand side to give me a guide for sticking my various sized circles. As with yesterdays layout I stamped the different circles from the stamp set in different shades of blue onto Very Vanilla, Baja Breeze & Marina Mist cardstock. I then punched with the coordinating punches. For this layout I glued some circles flat and then layered other circles up  with dimensionals (and on some I used smaller circles to create layers upon layers). I also saved three circles to create the smaller embellishment on the right hand side.

I hope these two layouts have given you a new perspective on Circle Circus. I love using the same stamp set in different ways and seeing how different colour schemes change the effect of the images. Hopefully I'll be back tomorrow with another project to share ;0)

Happy crafting ;0)
-XX-

Monday, 29 August 2011

Circle Circus Scrapbooking 1

What a lovely bank holiday weekend it has been. The weather has been changeable but its been fun all the same!  The rain held off at the important times (when Sam and I packed up on a long walk together on Saturday and again no downpours during yesterdays Handfasting). I've been super busy this weekend (sadly not all crafting!) and feel like i have had a thoroughly productive bank holiday. You might have noticed a few blog changes. I decided that with the upcoming new catalogue launch I would have a play with the layout of the blog and tidy a few things up. I'm super pleased with the result ;0)

So on to todays crafting share. I don't think I shared this layout earlier in the month. This was one of the Circle Circus layouts from this months Stampin' Scrappin! class. I mentioned yesterday that I'm feeling inspired by circles, and especially the Circle Circus stamp set (which lends itself so beautifully to scrapbooking layouts).

I started by drawing a light pencil line on my 12"x12" Old Olive base layer. I then stamped tone on tone using Old Olive ink various sized circles from the stamp set. I then cut an 8"x8" Whisper White square which I glued centrally. I stamped all different stamps from Circle Circus in Tempting Turquoise, Pumpkin Pie, Real Red & Old Olive. I then punched them with the coordinating sized circle punches and layered them over the photo and the Old Olive stamped images. I then embellished with buttons and a small clip from the Stampin' Up! clip assortment. The title was stamped using the Just Perfect stamp set and Schoolbook numbers stamp set.

I'll share the second of the Circle Circus layouts tomorrow. I hope you are all enjoying the last of your Bank Holiday Monday ;0)

-XX-

Tuesday, 12 July 2011

Stampin' Scrapping for July

Here is this months scrapbooking double layout inspired by this blog. This uses the Love Letter Designer Series paper as its core inspiration. The colour scheme is Riding Hood Red, Basic Black and Very Vanilla. I have themed the pages around love but would work equally well for weddings, anniversaries, valentines (all love related events I suppose). Although the pages look quite simple there are a lot of elements that make up these layouts.

If you'd like to come along to this months scrapbooking class there are still a few spaces left. Please get in touch on 609249 or poulton_sarah@yahoo.co.uk.

Thursday July 21st 7-10pm £8.50 inc kit and refreshments


Made using:

Papers: Love Letter
Cardstock: Riding Hood Red, Very Vanilla and Basic Black
Stamp sets: Simply Said, Paisley Prints, Love You Much, Just Perfect & Schoolbook Serif Alphabets.
Punches: Heart to Heart, Scallop Circle, Scallop Trim Border
Big Shot: Top Note, Scalloped Heart
Ribbon: Real Red Taffeta Ribbon
Embellishments: Basic Rhinestones