Friday 30 September 2016

A Jolly Friends Foldover Christmas Card from Stampin' Up! UK Demonstrator Sarah Poulton

Hello Crafters and very Happy Friday. Welcome to the weekend. What is on your agenda? I have a lovely class lined up tomorrow using the Forever Evergreen Christmas Trees Kit from the Autumn Winter catalogue. Should be a fun few hours. 

To celebrate the weekend I have a fun foldover card to share today. This is inspired by a make and take project we completed at my upline Michelle's team get together earlier this month. I knew with a few tweaks it would be a perfect class project.

I used a Crumb Cake Card base with just one part embossed with the Cable Knit Embossing Folder.


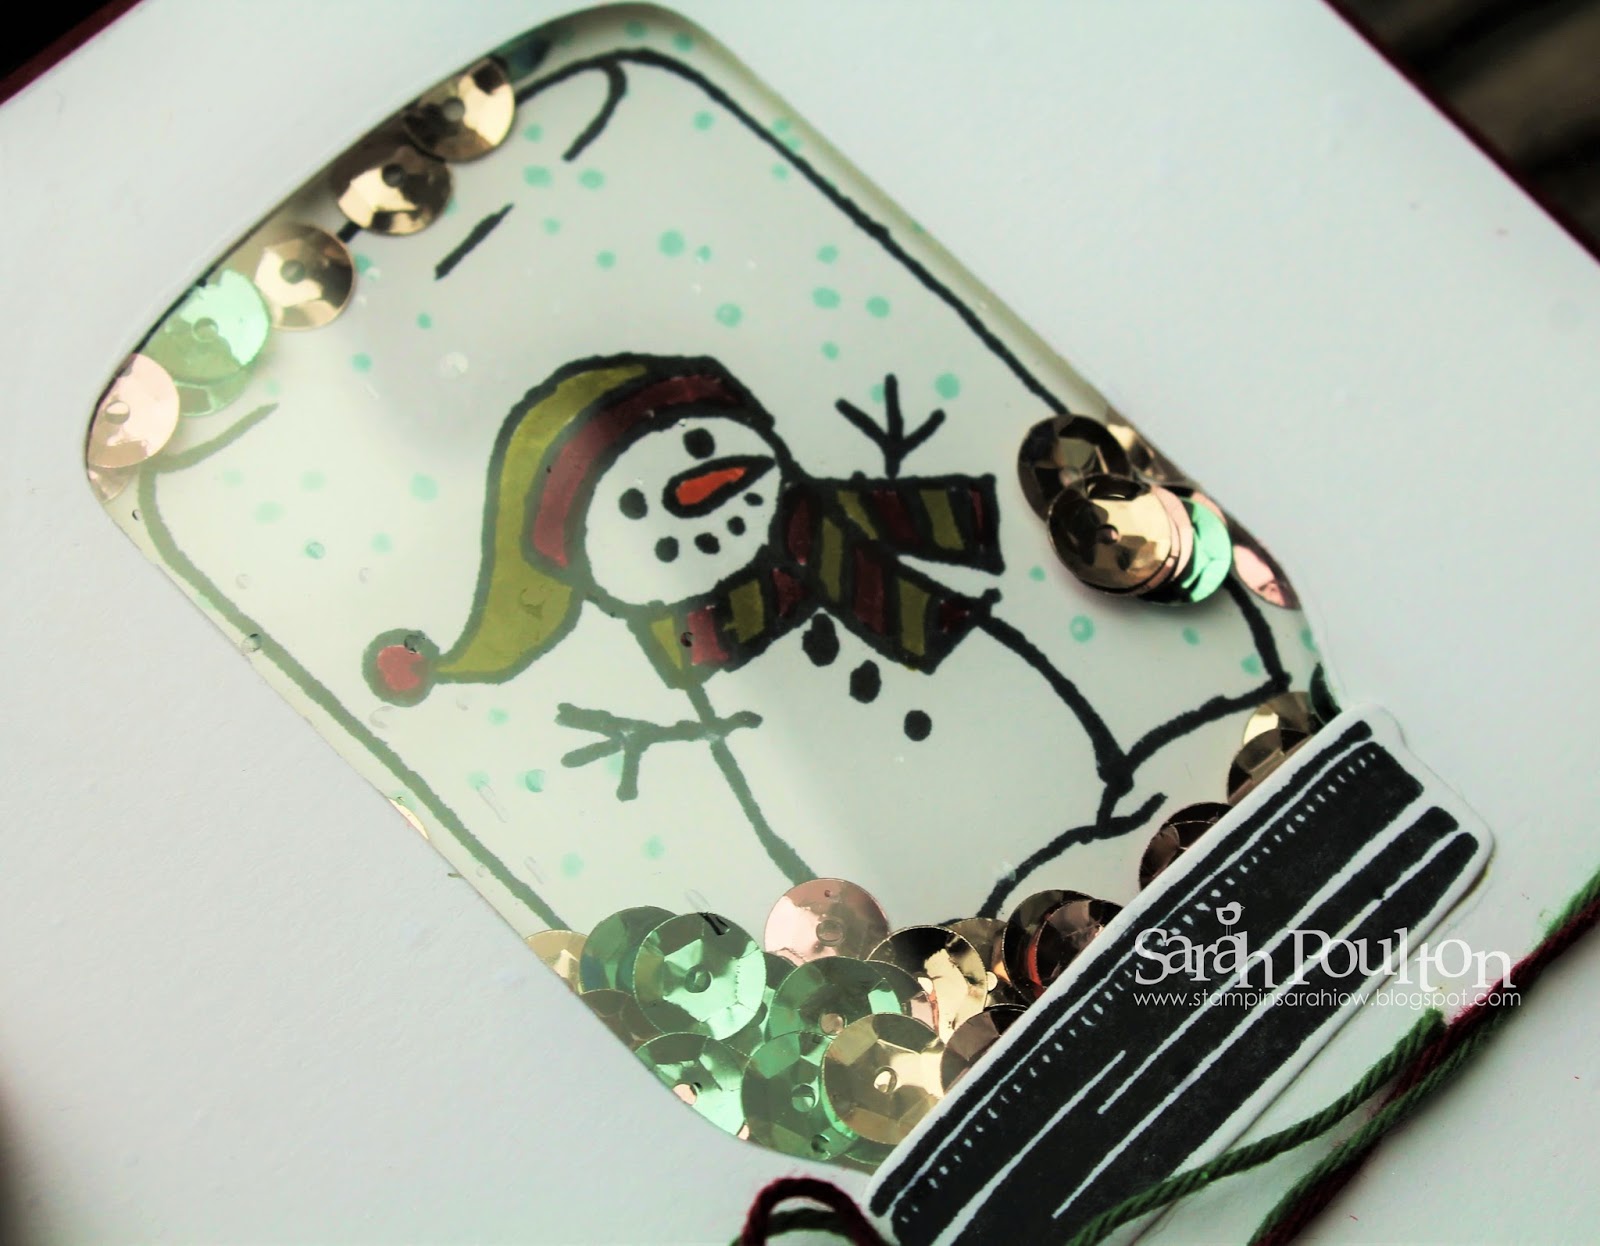
The hole is punched with the 2" Circle Punch. A 2" Cherry Cobbler Circle was then adhered to the folded over flap to appear through the front hole. I added the little elf face and punched hat (with a jingle bell as a pom pom). The stamping was added using the Stitched With Cheer stamp set in Garden Green and Cherry Cobbler.


The inside of the card features the Stitched with Cheer banner and added stars and enamel shapes for colour and texture.


Thank you for popping by today. I'd love to see what you've been creating so please feel free to leave your blog details in the comments or drop me a line.

Please let me know if you have any questions about Stampin' Up! and their products. I would be happy to help.  All items can be purchased online via my shop or get in touch directly and I can order them for you to be delivered direct to your door. I'd also love to Demo for you and your friends at a crafty party. As the hostess you earn lots of lovely freebies and you all get to make a fun crafty project too!

Product List

Tuesday 27 September 2016

Forever Evergreen Thank You from Stampin' Up! UK Demonstrator Sarah Poulton

Happy Tuesday Crafters. What are your crafty plans for the week? I have lots going on here. I've fallen behind with a Stitch Along so I'm playing catch up with them an I have a Forever Evergreen Christmas Tree class for some lovely ladies on Saturday to plan for too.


And on that note I wanted to share with you a Christmas Thank You card I made using the Forever Evergreen stamp set that accompanies the Christmas Tree kit. I wanted to make a card for a recent hostess and this is what I came up with.


I started with a Garden Green cardstock base and layered with Whisper White. I stamped the images in Memento Black Ink, Pear Pizzazz, Real Red and Daffodil Delight.


I coloured the bauble with my Gold Wink of Stella and added an enamel shape to my hanging baubles.


I added a little extra detail to the inside of my card.


Thank you for popping by today. Please let me know if you have any questions about Stampin' Up! or our products. I would love to help. All items can be purchased online via my shop or get in touch directly and I can order them for you to be delivered direct to your door. I'd also love to Demo for you and your friends at a crafty party. As the hostess you earn lots of lovely freebies and you all get to make a fun crafty project too!

Product List

Monday 19 September 2016

A Home Sweet Home Card from Stampin' Up! UK Demonstrator Sarah Poulton

Morning lovelies. How was your weekend? Lots going on here with my monthly card class and a trip to the Handmade Fair at Hampton Court. This is one of my favourite shows as you get to try new and different crafts. I went with my Mum and sister and we had a go at folk art painting, crocheting a bracelet and made a felt flower brooch. There was also the obligatory shopping too. I came away with some little kits for crafting with my girls as well as a teddy angel kit to create at home for Christmas. If you love giving new crafts a go as I'd put the Handmade Fair 2017 in your diary.

Now back to Stampin' Up! One of my lovely card class friends recently moved house and I wanted to make a card for her to celebrate the move. I love these little punch art houses. I've used this theme before for new home cards. I cut a small square of Crumb Cake and then cut one the same size from a scrap of patterned DSP (retired) which I then cut in half to make the little roof.


I layered Very Vanilla over Blushing Bride to make the heart stand out (punched with a small heart punch in my stash). The Home Sweet Home and banner are from the fab Sweet Home stamp set (which coordinates with the matching Framelits for making little house boxes). To finish I added Brights Enamel Shapes.


Thank you for popping by today. Please let me know if you have any questions about Stampin' Up! or our products. I would love to help. All items can be purchased online via my shop or get in touch directly and I can order them for you to be delivered direct to your door. I'd also love to Demo for you and your friends at a crafty party. As the hostess you earn lots of lovely freebies and you all get to make a fun crafty project too!

Product List

Monday 12 September 2016

A Cookie Cutter Northern Lights Christmas Card from Stampin' Up! UK Demonstrator Sarah Poulton

Happy Monday Crafters.

How are you lovelies? I've had a lovely crafty weekend. I spent Sunday with my lovely Pinkie teamies at my Stampin' Up! upline Michelle's bi-annual training up in North Hants. We spent the day crafting and chatting and eating cake. It was a brilliant day which ended with a fabulous raffle. Getting together with fellow Stampin' Up!-ers is still one of my favourite things about being a Demonstrator. I love seeing old and new faces and crafting with others.

Part of our day involved swapping in small groups. I'd signed up for two swaps- a Christmas card and a shaker card. Today's crafty share is the Christmas card I created to share with my swap group. I used a technique I'd not tried before, the shaving foam background technique. I used this to create the swirls for the Northern Lights and as you can see each of my cards was completely unique.


To create the background I used my Tempting Turquoise, Pool Party, Rich Razzleberry and Island Indigo reinkers dropped onto a bed of shaving foam and then streaked together with my bone folder. I then placed my cut to size Whisper White layer onto the shaving foam and pressed to ensure full coverage of the ink. I then removed my card and wiped the excess foam off with kitchen roll.


I created my igloo by cutting a circle from Whisper White using the Circle Framelits, cutting a portion from the bottom of my circle and then using the small oval die from the Layering Ovals Framelit set to cut the door. I then embossed with the Brick folder. I layered this over a piece of Pool Party cardstock shaped to create my snow scene. I finished by adding Silver Metallic Enamel Shapes. I stamped my little Inuit in Memento Black and coloured with my Blender Pens.


Here is my little crafty helper having a go at creating her own Christmas card backgrounds. She went for more of a rainbow of colours.


This gives you a good idea of how the background effect is created. Dropping the ink and then running the streaks together on the bed of foam.


Thank you for popping by today. Please let me know if you have any questions about Stampin' Up! or our products. I would love to help. All items can be purchased online via my shop or get in touch directly and I can order them for you to be delivered direct to your door. I'd also love to Demo for you and your friends at a crafty party. As the hostess you earn lots of lovely freebies and you all get to make a fun crafty project too (no crafting experience necessary!).

Product List

Thursday 8 September 2016

Jar of Cheer Shaker Cards from Stampin' Up! UK Demonstrator Sarah Poulton


Thank you for joining us on another Pinkies Blog Hop! We're showcasing lots of gorgeous projects using products from the new Stampin' Up!® Autumn/Winter Seasonal Catalogue. Simply use the buttons at the end of each post to keep hopping!

Welcome to the Isle of Wight for a little Autumn Winter catalogue inspiration. Thank you for hopping over from Michelle's blog. My cards today were inspired by the Jar of Cheer stamp set which is designed to coordinate with the Everyday Jars Framelits from the Annual Catalogue.

I couldn't make up my mind which image to put inside my mason jar so decided to create two cards featuring the snowman and candle with the new Fancy Frost sequins as the shaker element. 


The sentiment is also from the Jar of Love which I stamped in Cherry Cobbler to march the cardstock card base.


I coloured my image with my Stampin' Write markers. And as a final detail I added the gorgeous Bakers Twine from the Trio Pack.


Thank you for popping by today. Hop on to Nicole's blog for more seasonal loveliness.


Product List