Good morning and welcome to a new crafty week. What a beautiful weekend we have had. The weather has been sunbathing warm (not that I have time for anything as luxurious as sunbathing with two littlies) and it still feels like the tail end of summer (despite what the shops may have us believe- they'd have you thinking Christmas was next week!)
This weekend we celebrated my sister's birthday with a fantastic lunch spread at my Mums house. It was such a lovely afternoon. And the celebrations continue today with a shopping trip over the water to Southampton. I am hoping to get a little sneaky Ikea trip in (although that place always manages to suck up 3 hours rather than the quick 20 minutes you expect).
My first crafty share this morning is the Birthday card I made for Natalie. After last weekend's Handmade Fair papercutting class I was inspired to give it a go at home. I bought a starter kit from Paper Panda and this was one of the designs in the kit. I hand cut the heart and then layered the design over Strawberry Slush cardstock and mounted on to a Bermuda Bay base.

I finished the design with some matching Strawberry Slush and Bermuda Bay hand drawn doodles around the outside of the white layer. I used my Stampin' Write markers for this.
I find papercutting quite relaxing. I love cutting out all the intricate details. This is only my second attempt so I am pretty happy with how it turned out. And I always love mixing my crafts with Stampin' Up! to show just how versatile our products are.

The next make I created was this little decorative gift tag to accompany this lovely little jar of gorgeous Waitrose jelly cat sweets (if you haven't tried these I thoroughly recommend them, especially the Eton Mess flavour!). I used an offcut of Under the Tree Speciality DSP and stamped the greeting from the Age Awareness stamp set (stamped in Pumpkin Pie and Bermuda Bay). I finished with Brights Candy Dots and a length of Island Indigo Cotton Ribbon.

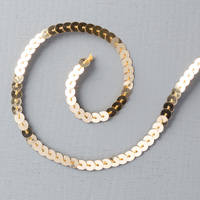
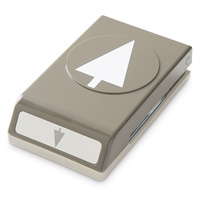
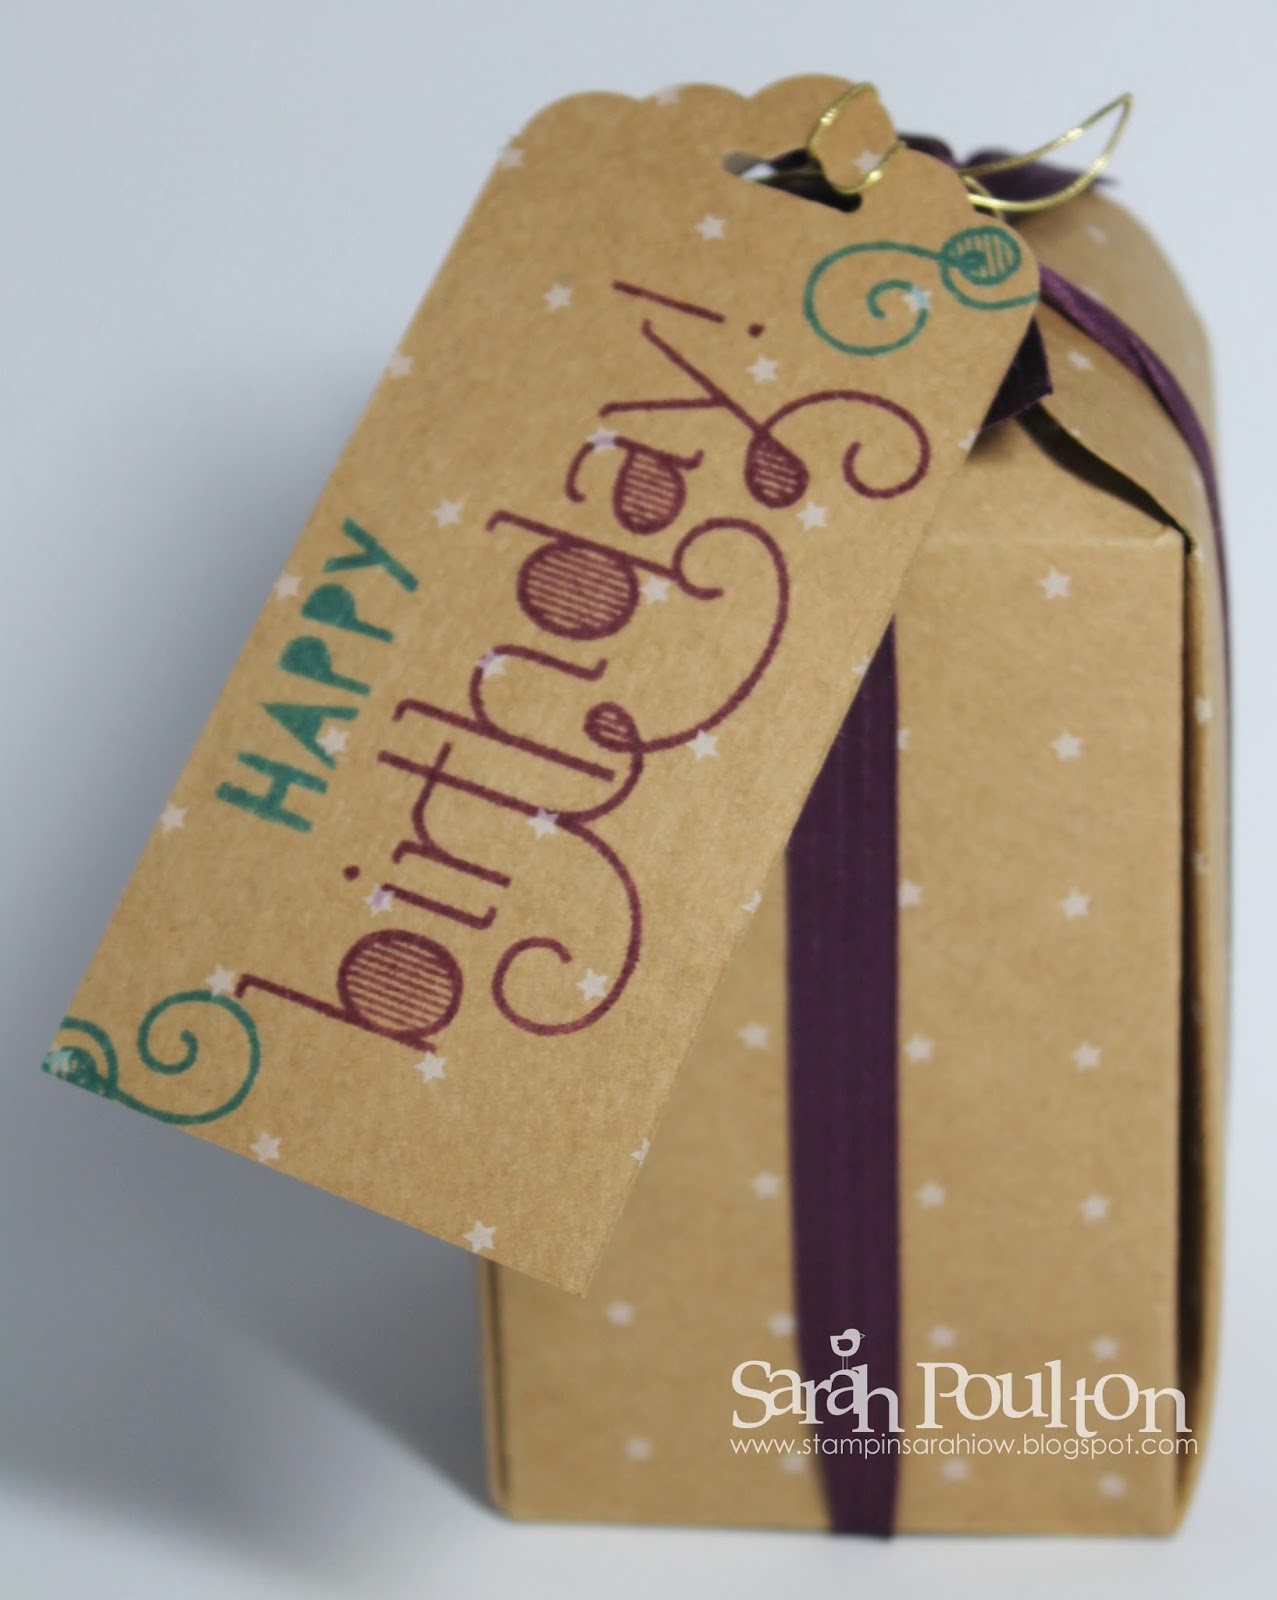
My final birhday creation is this gift box made with my favourite tool of the moment, the Gift Box Punch Board. I needed a box to hold 4 tubes of my sister's favourite sweets, Love Hearts. This box is the 2.5"x 2.5" x 4" box. It wasn't quite tall enough so I domed the top of the closure and secured with a length of Blackberry Bliss Satin Stitched Ribbon. I created the tag with the Scallop Tag Topper Punch and stamped with Island Indigo and Rich Razzleberry ink (using the Age Awareness stamp again). The body of the box uses the fantastic Under the Tree Speciality Papers (strong and lovely to stamp on).
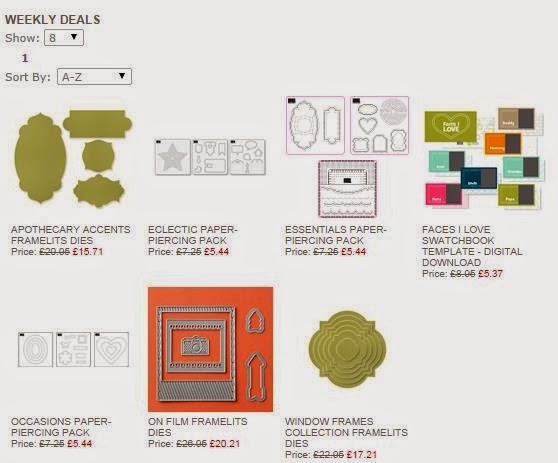
Thank you for popping by today. If you have any questions about today's project or the products I have used, please get in touch on poulton_sarah@yahoo.co.uk or 01983 609249. You can order online direct through my store by clicking the product links above or the pictures below. I also have availability in the next few months for your very own crafty party. Click on the Promotions tab above to see the exclusive hostess promotion running until October 31st.
Happy Crafting
-X-